Key Takeaways:
- Understand the components of an acrylic nail kit and their uses.
- Learn how to apply acrylic nails using a kit for a salon-quality manicure at home.
- Discover tips and tricks for maintaining your acrylic nails for lasting beauty.
Acrylic nails have been a staple in the beauty industry for decades, offering a durable and customizable option for those seeking a flawless manicure. But what exactly is an acrylic nail kit, and how can you use it to achieve salon-worthy nails at home? In this comprehensive guide, we'll explore the essentials of an acrylic nail kit, how to use it, and tips for maintaining your stunning new nails.
The Essentials of an Acrylic Nail Kit
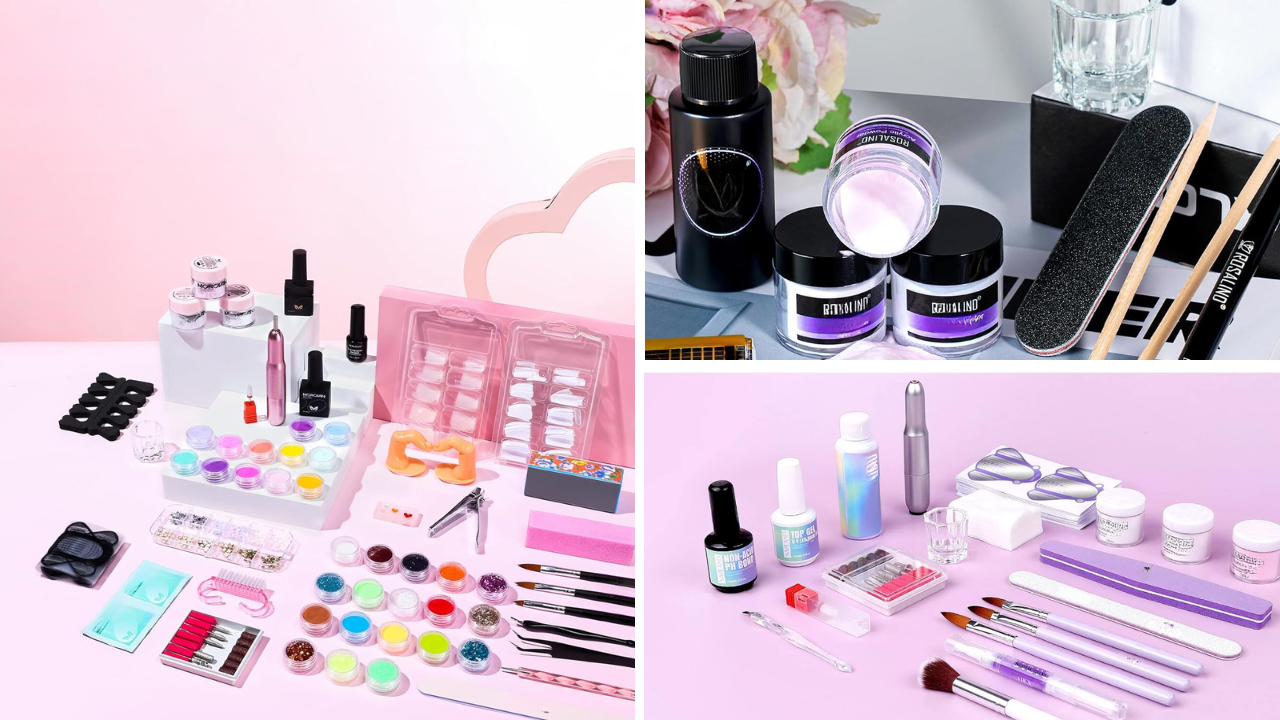
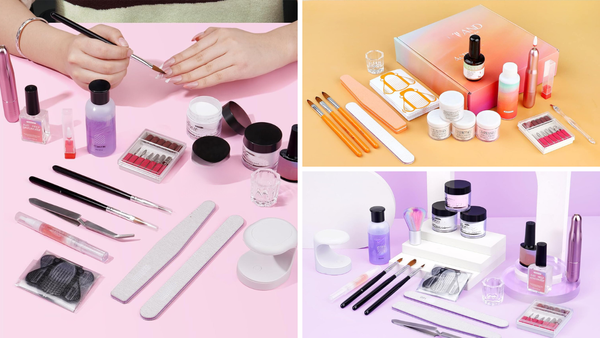
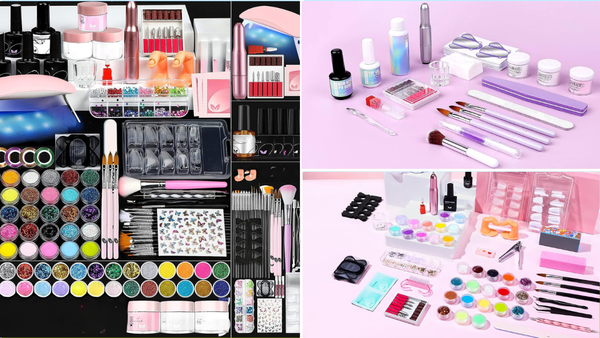
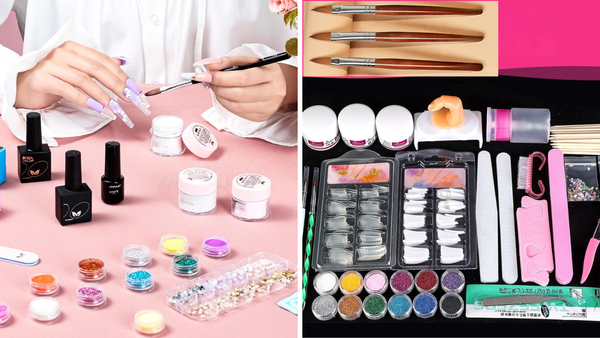
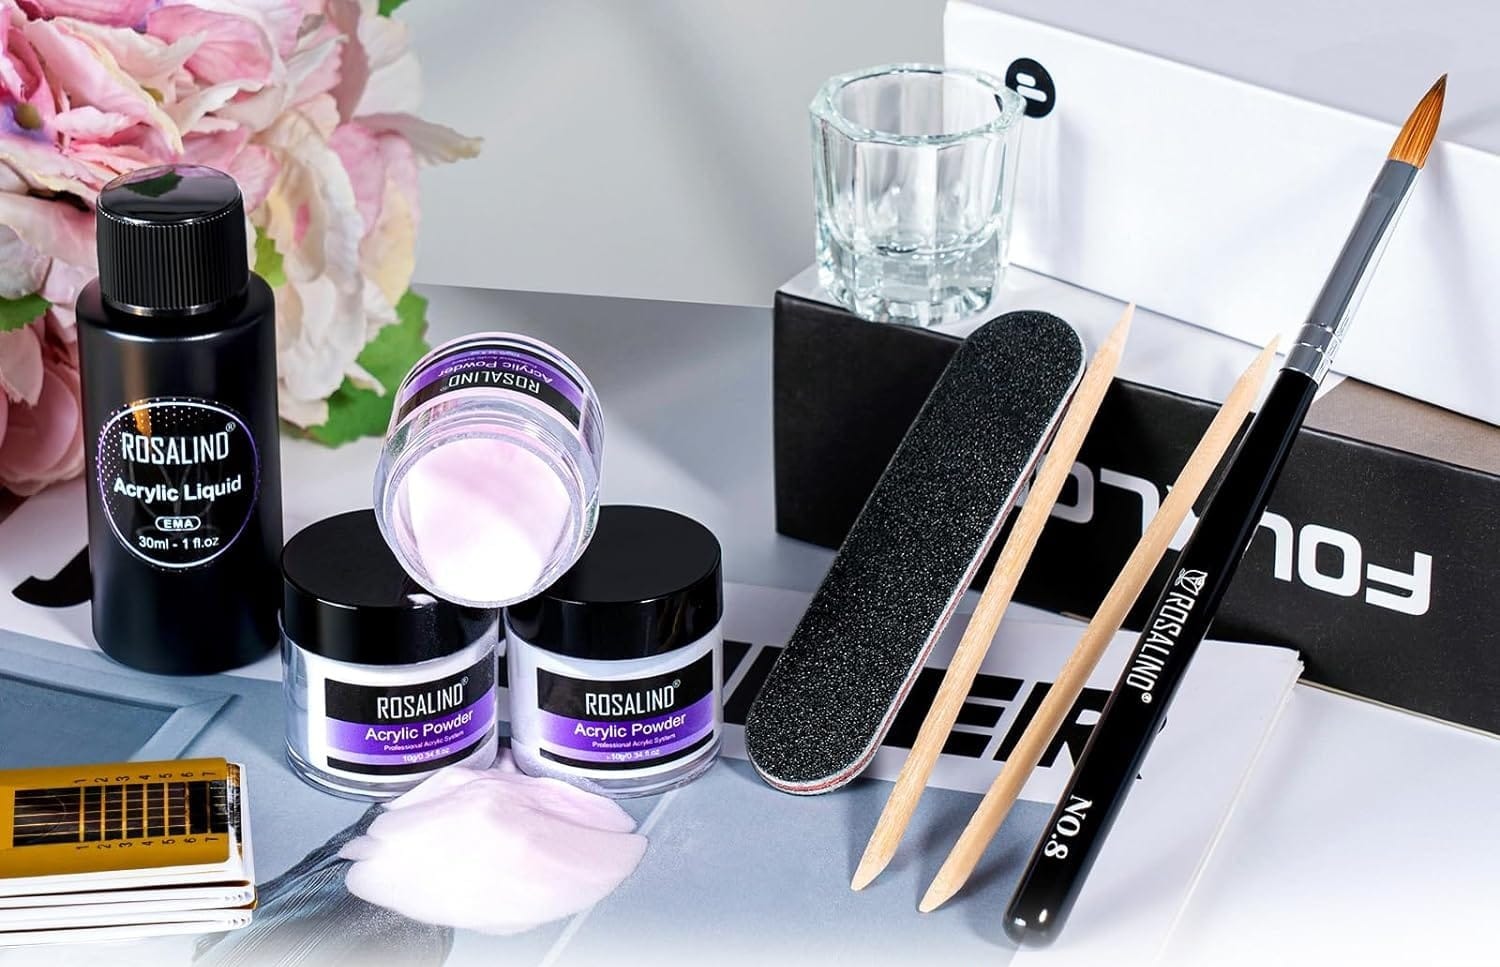
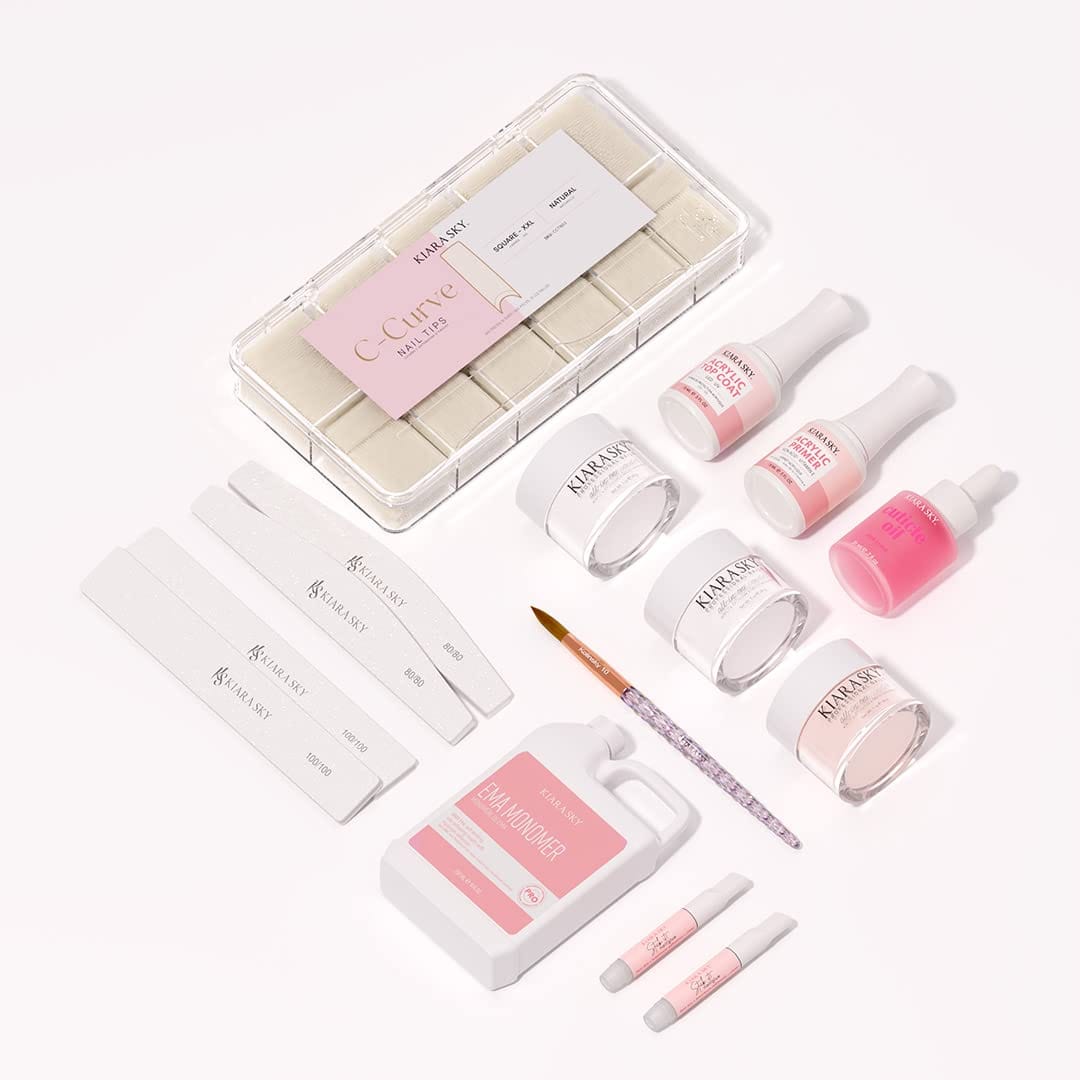
An acrylic nail kit is a treasure trove for enthusiasts, packed with all the necessary tools and products to create a stunning set of acrylic nails. At the heart of the kit, you'll find acrylic powder and acrylic liquid, which combine to form the nail's hard protective layer. A high-quality acrylic brush is crucial for applying this mixture precisely, while nail tips and a c-curve rod help shape the perfect nail silhouette. To ensure a strong bond, nail glue and an acrylic primer are essential, setting the stage for a long-lasting manicure.
The Role of Nail Primer and Acrylic Liquid
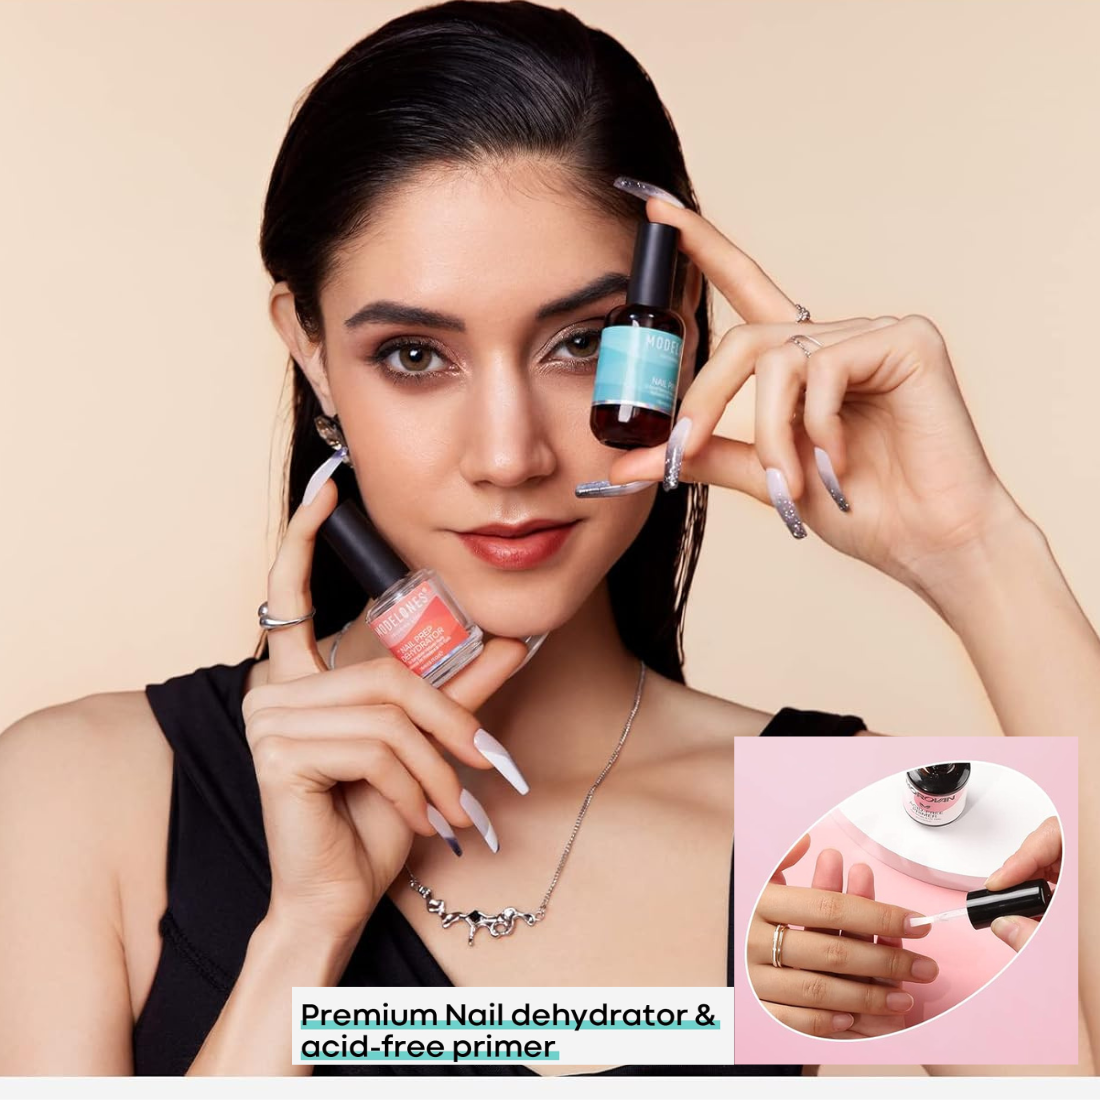
Before applying acrylic, it's important to understand the role of the nail primer. This product prepares the natural nail surface, ensuring the acrylic mixture adheres properly. Following the primer, the acrylic liquid, or monomer, is mixed with the acrylic powder to create the sculptable bead that forms the nail. This process requires a steady hand and a bit of practice, but with the right acrylic kit, even beginners can achieve professional results.
Step-by-Step Application Process
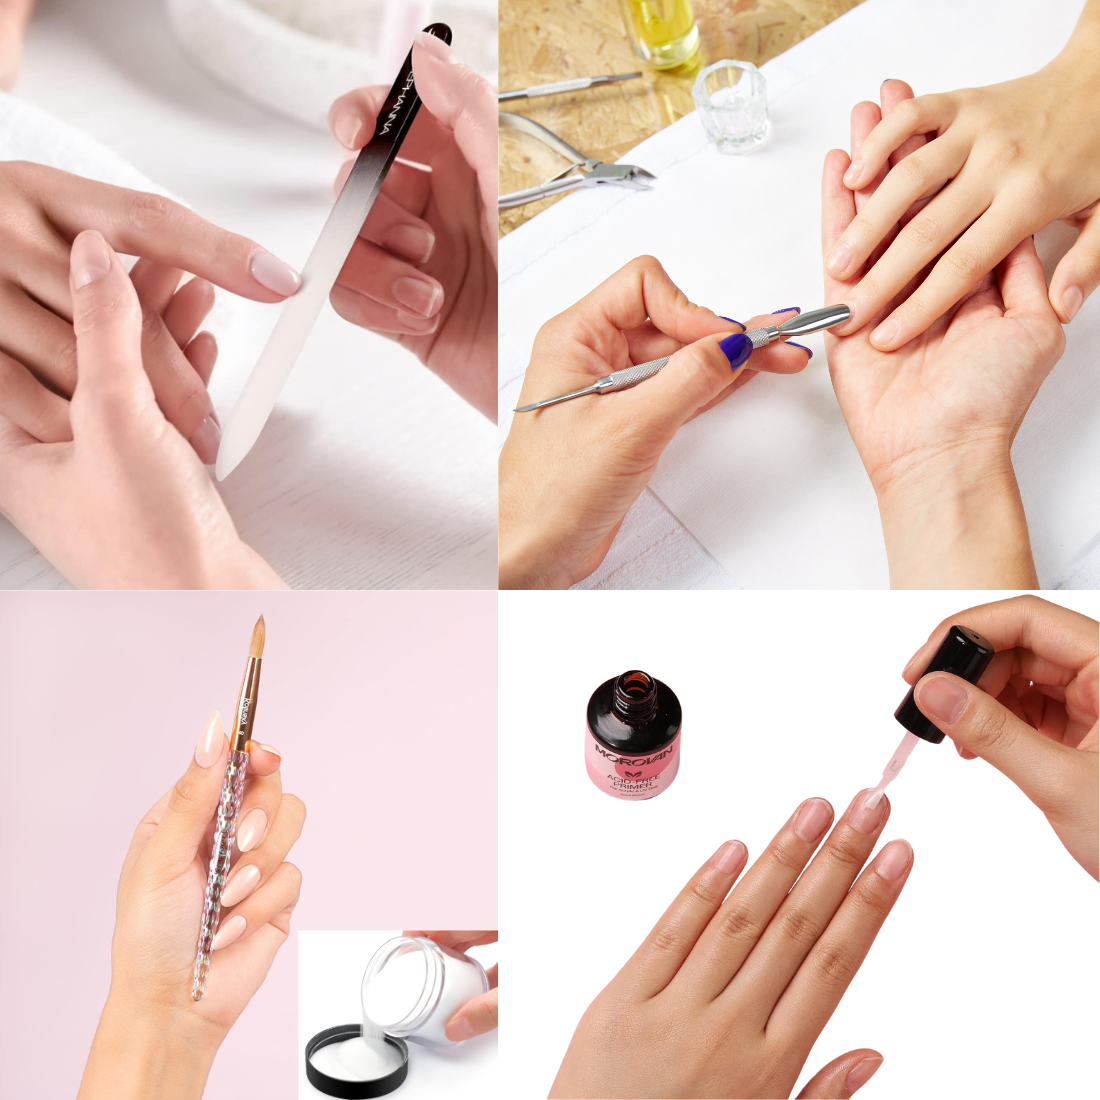
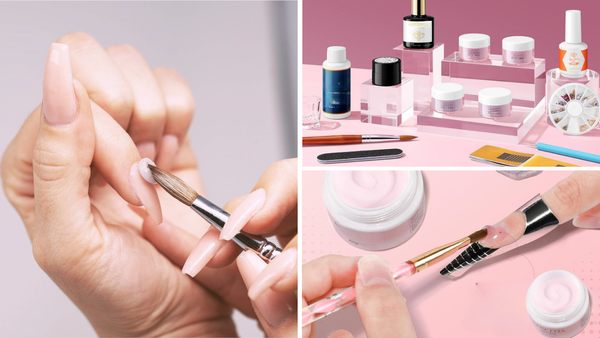
To begin your acrylic nail journey, start by prepping your natural nails. This involves using a cuticle pusher to gently push back the cuticles and a nail file to shape the nails. Next, apply the nail primer to dehydrate the nail bed, creating an ideal surface for the acrylic to adhere to. Once the primer is dry, dip your acrylic brush into the acrylic liquid and then into the acrylic powder to form a bead. Carefully place the bead onto the nail and use the brush to shape it, working quickly before the mixture hardens.
Achieving the Perfect C-Curve
The c-curve is a critical aspect of a well-constructed acrylic nail, providing aesthetic appeal and structural integrity. To achieve this, you'll need a c curve rod or a similar tool from your acrylic nail kit. After applying the acrylic mixture to the nail, gently press the rod against its edge as it hardens, creating a smooth, curved shape. This step may take some practice, but it's essential for that salon-quality finish.
Nail Tips and Glue: The Foundation
Nail tips are the foundation of any acrylic manicure, extending the natural nail to your desired length and providing a canvas for the acrylic. To apply, select the appropriate size for each nail and use the nail glue from your kit to secure them. Ensure the tips are straight and firmly attached before proceeding with the acrylic application. This will prevent any lifting or unevenness in your finished nails.
The Art of the Acrylic Brush
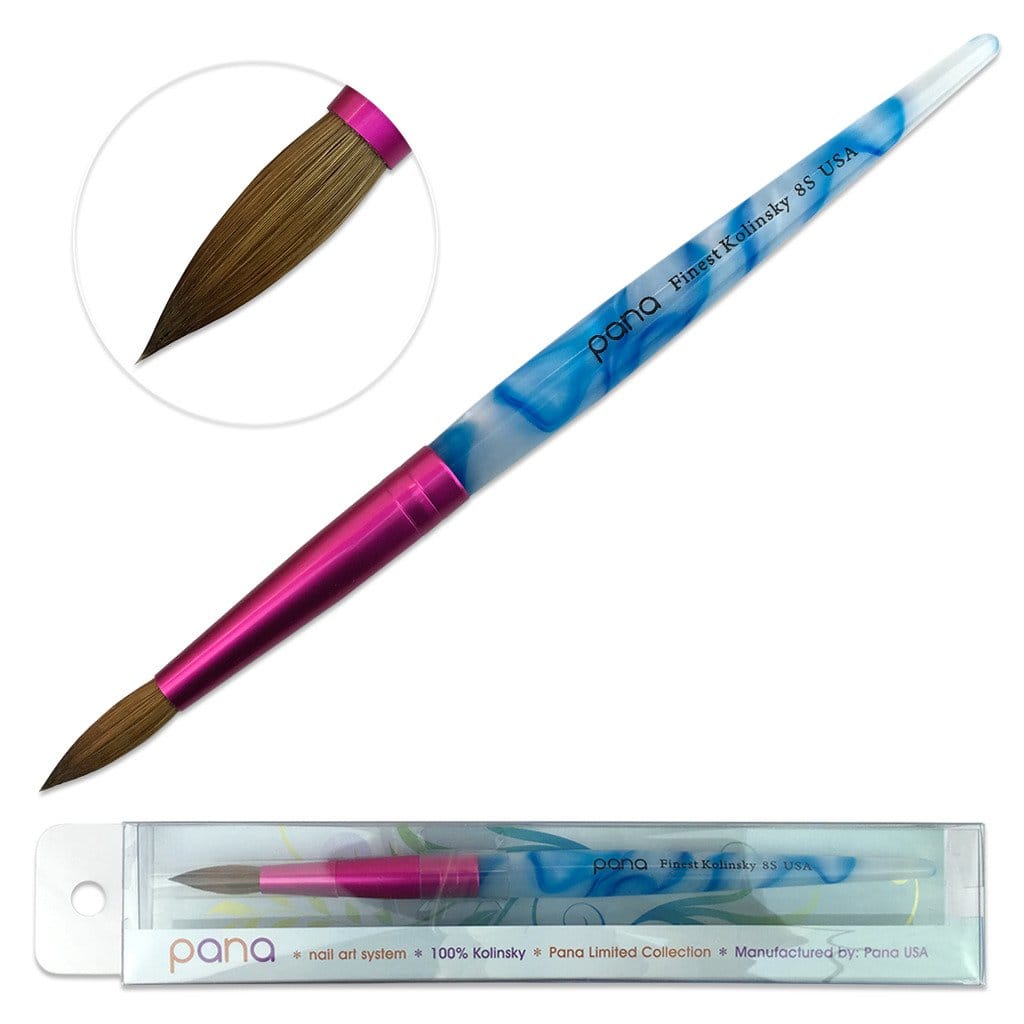
A high-quality acrylic brush is a nail pro's best friend. When selecting a brush from your acrylic kit, look for one with a fine point and a sturdy body, allowing precise control during application. To use, dip the brush into the acrylic liquid, then into the powder, and apply the resulting bead to the nail. The brush should pat and smooth the acrylic, creating an even surface free of bubbles and imperfections.
Acrylic Nail Kit Composition: What's Inside?
Have you ever wondered exactly what is in an acrylic nail kit? Well, let's dive in! An acrylic nail kit typically includes full-size bottles of acrylic powder and liquid, the dynamic duo for creating the nail structure. The powder comes in various colors, from natural pink to vibrant hues, allowing for various creative designs. The liquid, often called a monomer, is mixed with the powder to form the hard acrylic that adheres to your nails.
But that's not all! Most kits also come with accessories like a high-quality acrylic brush for application, nail tips for length, and nail glues to secure everything in place. Some even include a cuticle pusher and nail forms to help shape the perfect nail. Kiara Sky's acrylic system, for example, is frequently bought because it's known for its comprehensive range of tools and top coat essentials, ensuring you have everything you need for a salon-quality manicure right at your fingertips.
The Versatility of Acrylic Nail Shapes
When you dive into the world of acrylic nails, the possibilities are endless. With an acrylic nail kit, you can achieve any nail shape, from the natural square to the daring stiletto. The key is to start with full-size bottles of acrylic powder and liquid to ensure you have enough material to sculpt the perfect shape. A cuticle pusher and nail tips are essential tools in your kit, helping you to create a seamless extension of your natural nail.
The beauty of acrylics lies in their adaptability. Whether you like the elegant almond shape or prefer the edgy coffin design, your acrylic kit is your canvas. Use a nail primer before application to promote adhesion and prevent lifting. After sculpting, a top coat is crucial for that high-gloss finish and protects your nails from chipping. With the right tools and practice, you can tailor your acrylic nails to match your style perfectly.
Acrylic Nail Kit Add-Ons: Elevate Your Manicure
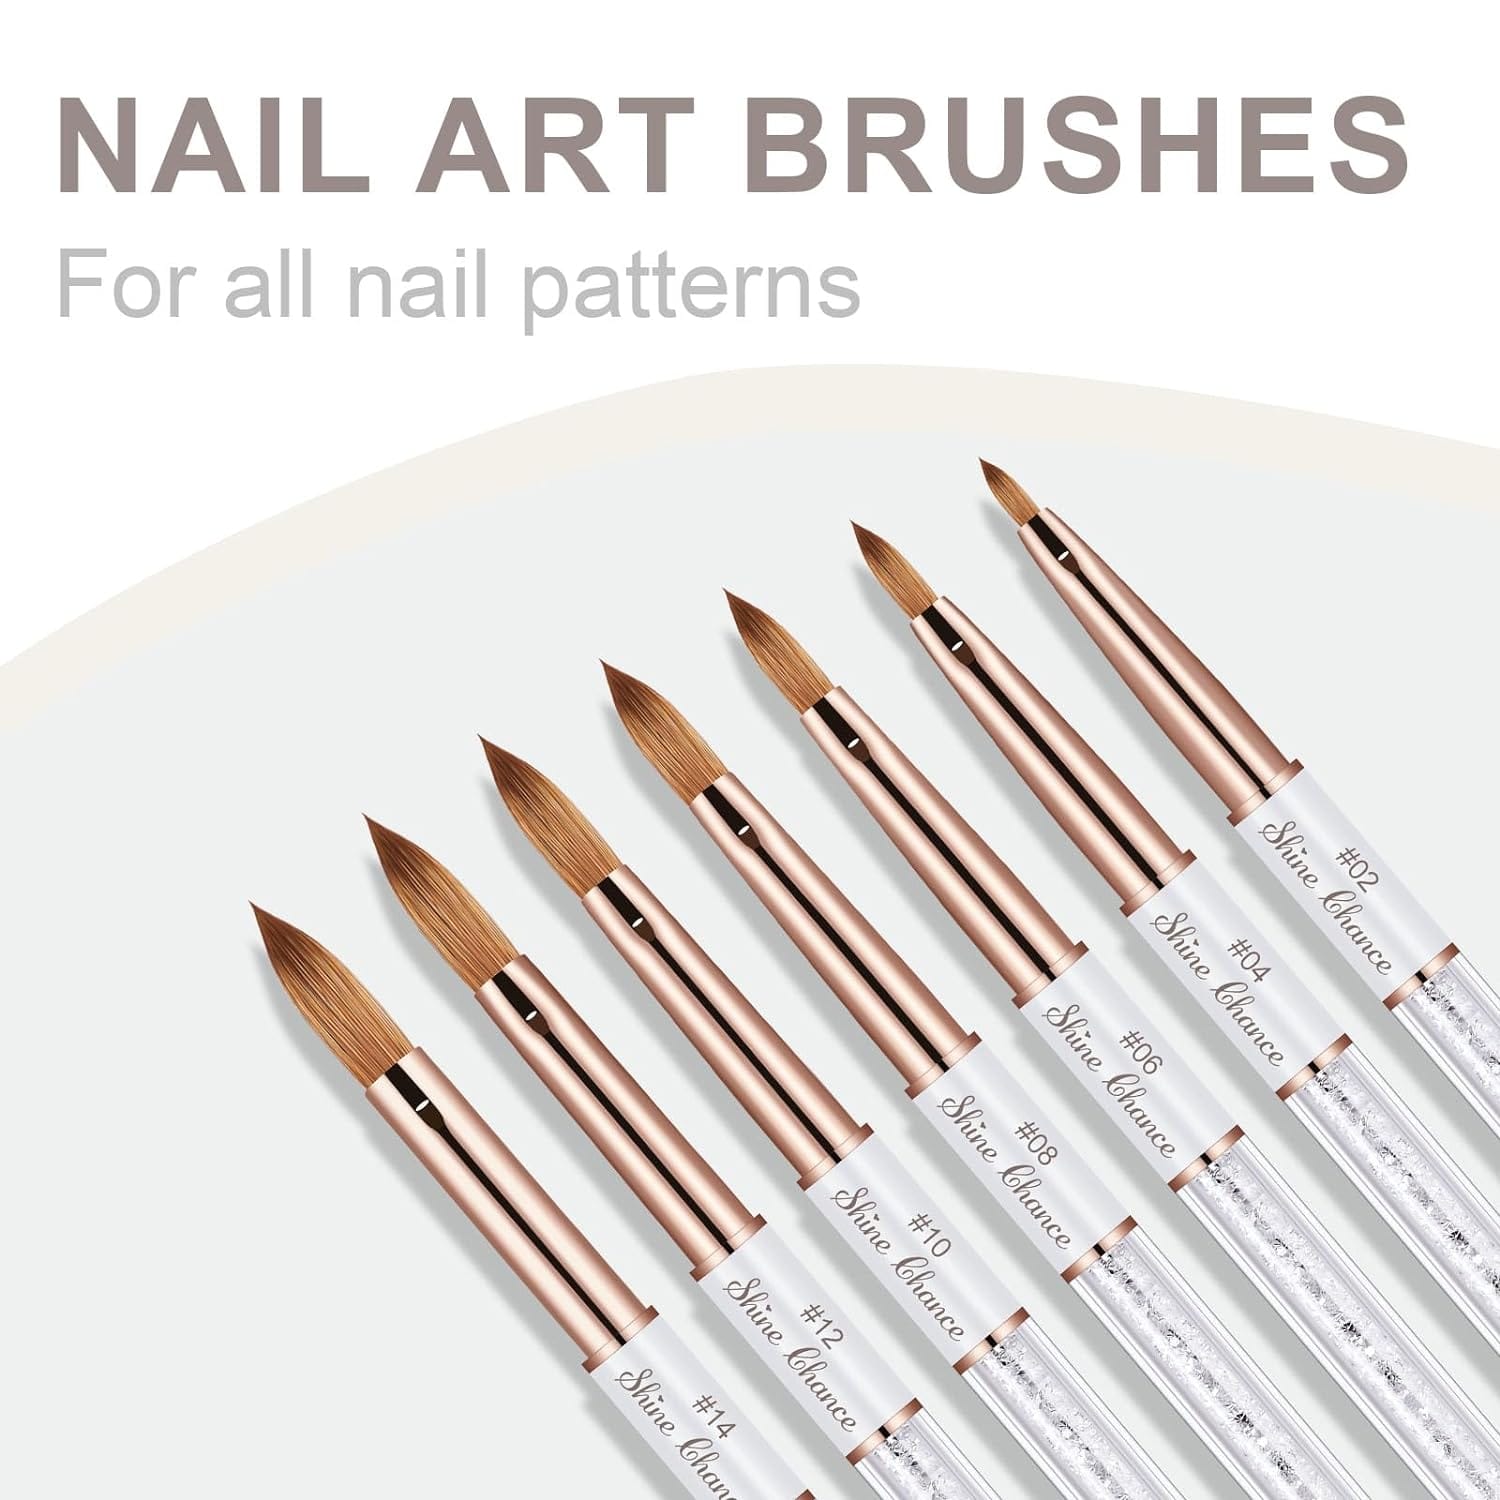
Expanding your acrylic nail kit with the right accessories can take your manicure to the next level. Kiara Sky's acrylic system, for instance, offers educators' recommended add-ons that can enhance your nail artistry. Think about including a variety of brushes for different applications – a fine-tip brush for detailed work and a wider brush for smooth coat applications. Videos from nail pros can guide you on how to use these tools effectively.
Moreover, don't overlook the importance of maintenance tools. A good quality nail glue, a gentle nail file to shape and refine the edges, and acetone for easy removal are all part of the process. For those who wish to sell their services, investing in a professional kit with these add-ons is a smart move. Reviews from customers can help you decide which extras are worth the investment. Always verify the quality and load your kit with items that will help you deliver a salon-quality manicure right home.
The Evolution of Acrylic Nails: From Salons to Home Kits
Acrylic nails have come a long way since their salon origins. Initially, getting a set of acrylics meant a trip to the professional, but now, with all-in-one kits, the process has become accessible to DIY enthusiasts. These kits are designed to provide the same quality and durability as a salon manicure but at a fraction of the cost. They often include detailed instructions or even links to videos that guide you through the application process, making it easier for beginners to get it right.
Moreover, brands like Kiara Sky constantly innovate to improve the user experience. Their educators produce content that helps users understand the nuances of application, from achieving the perfect C curve to mastering the art of the coat brush. This educational approach not only sells kits but also empowers users to become nail pros in their own right. With these advancements, the acrylic nail kit has truly evolved into a product that caters to both the novice and the seasoned nail enthusiast.
Gel Polish Over Acrylic: A Match Made in Heaven
For those who love the shine and durability of gel polish, combining it with acrylic nails is a match made in heaven. Once your acrylic nails are shaped and buffed, apply a coat of gel polish in your chosen color. Cure under a UV or LED lamp as directed, and finish with a top coat for that extra gloss and protection. The result is a stunning, long-lasting manicure that will turn heads.
Maintaining Your Acrylic Nails
Maintaining your acrylic nails is crucial for their longevity and appearance. Regularly file and buff the nails to keep their shape and smoothness. Use cuticle oil to keep the skin around the nails hydrated, and avoid using your nails as tools to prevent breakage. When it's time for a touch-up, use the acrylic liquid and powder from your kit to fill in any growth at the base of the nails.
The All-in-One Acrylic Nail Kit
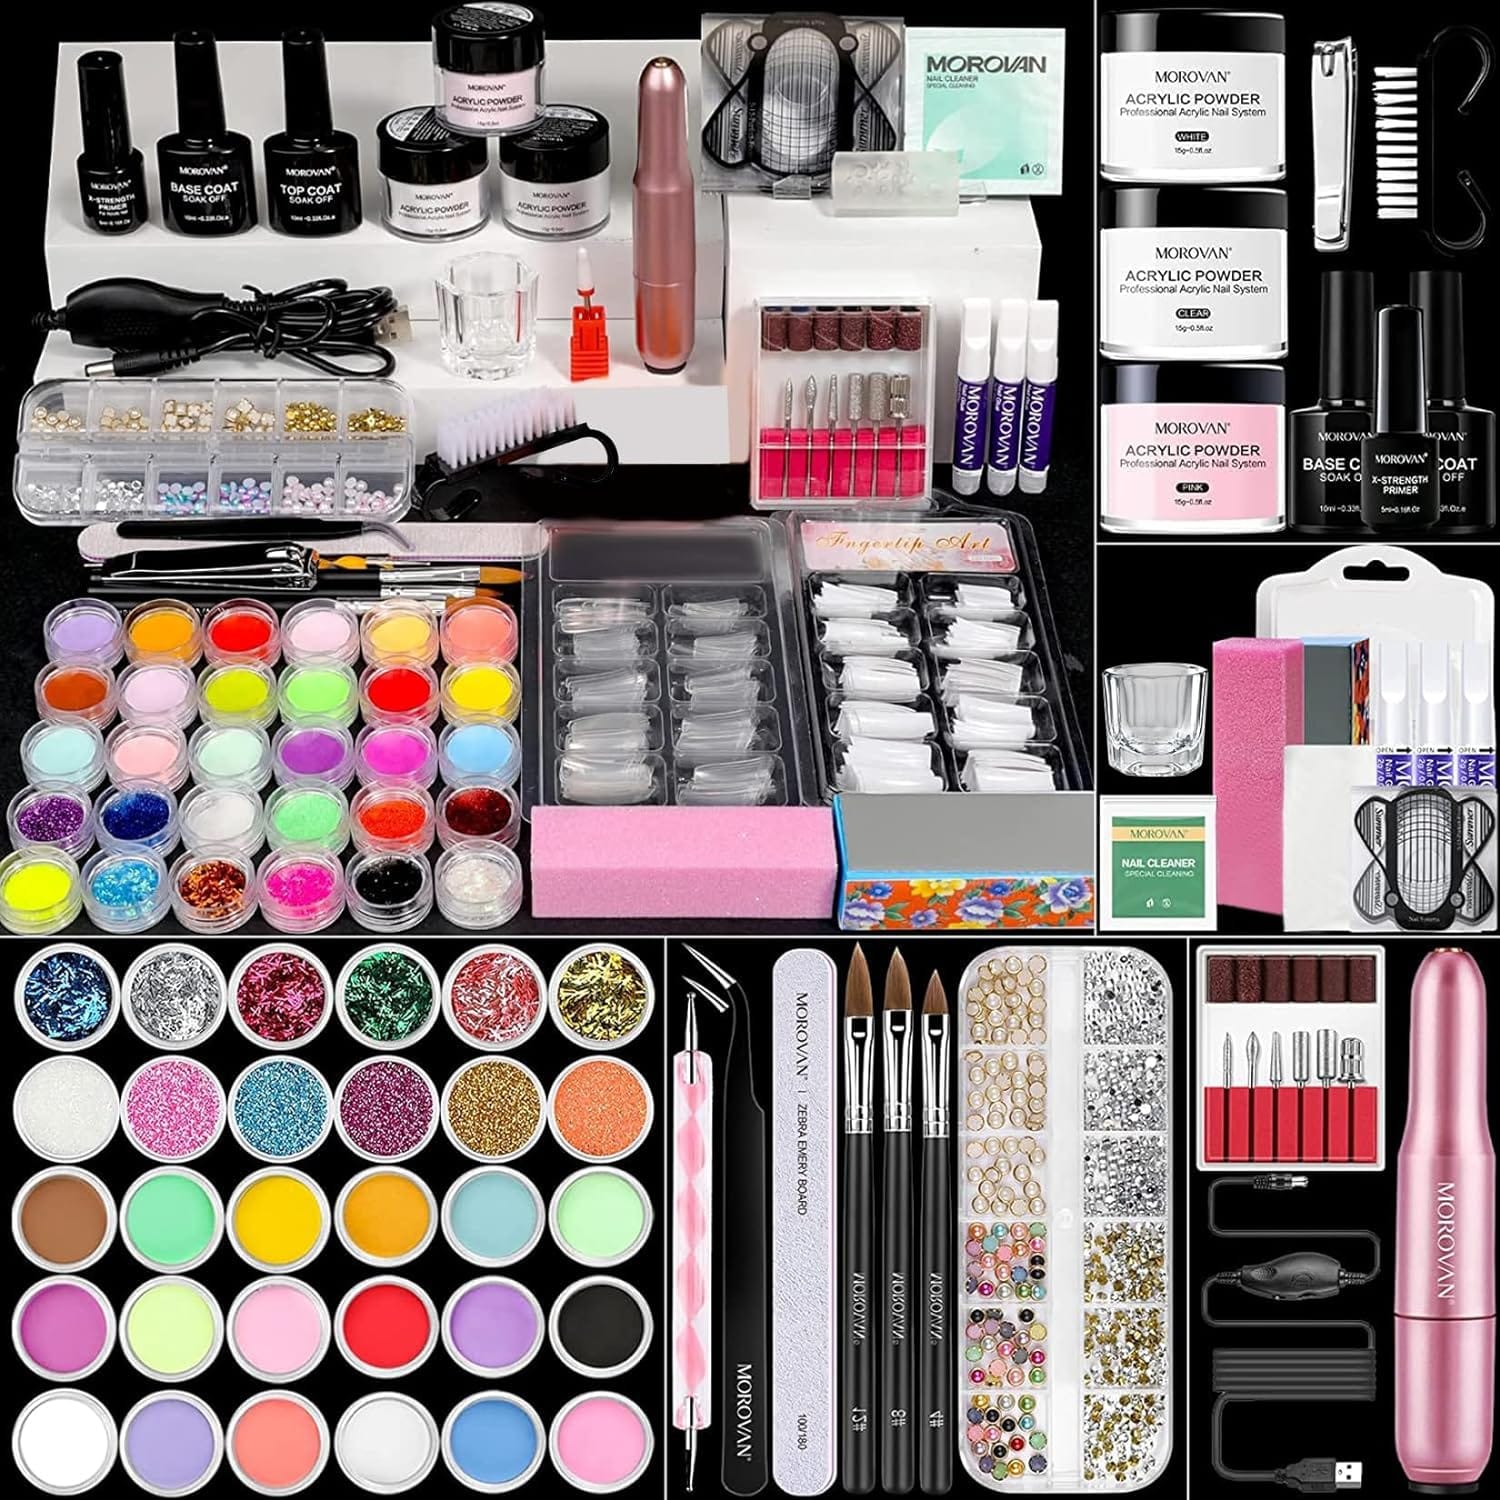
For those new to acrylics, an all-in-one kit can be a lifesaver. These kits typically include full-size bottles of all the essentials, from acrylic powder and liquid to nail tips and primer. Brands like Kiara Sky offer comprehensive kits that beginners and seasoned nail technicians frequently buy. These kits often come with detailed instructions, making the acrylic nail process accessible to everyone.
Customizing Your Acrylic Nail Kit
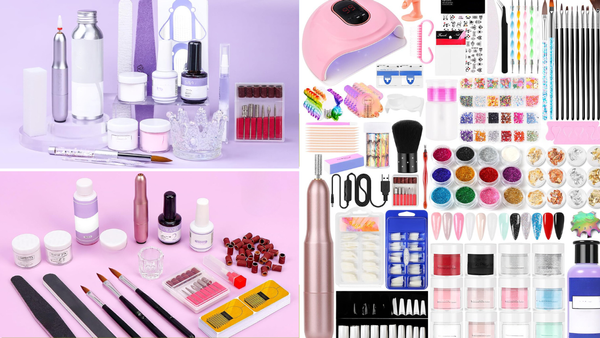
While many acrylic nail kits have the basics, customizing your kit with additional accessories can elevate your nail game. Consider adding a variety of nail tips for different shapes, additional colors of acrylic powder for creative designs, and specialized brushes for intricate work. By tailoring your kit to your preferences, you'll have everything you need to express your unique style.
The Financial Aspect of Acrylic Nails
Investing in an acrylic nail kit can save you money in the long run, especially if you're a regular at the nail salon. While the initial cost of a kit may seem high, the ability to do your nails at home can significantly reduce your manicure expenses. Plus, with proper care, the tools and products in your kit can last for multiple applications, providing even greater value.
Where to Buy Your Acrylic Nail Kit
When it comes to purchasing an acrylic nail kit, there are plenty of options available. Beauty supply stores, online retailers, and even some drugstores sell kits at various price points. Review and compare products to find a kit that suits your needs and budget. Remember to verify the authenticity of the products, especially when buying from online marketplaces, to ensure you're getting quality items.
Summary
An acrylic nail kit is a comprehensive set of tools and products designed for creating durable, beautiful acrylic nails. It typically includes acrylic powder, acrylic liquid, nail tips, nail glue, a primer, and a high-quality brush, among other essentials. By following a step-by-step process and maintaining your nails properly, you can achieve a salon-quality manicure at home. Customizing your kit with additional accessories can further enhance your nail artistry, and investing in a kit can be a cost-effective alternative to frequent salon visits. With the right kit and practice, you can become your nail pro.
FAQ Section
How often should I refill my acrylic nails?
Acrylic nails typically require a refill every 2 to 3 weeks, depending on the growth of your natural nails and the level of wear and tear.
Can I apply gel polish over my acrylic nails?
Yes, you can apply gel polish over acrylic nails for a glossy, durable finish. Be sure to cure the polish under a UV or LED lamp as directed.
Is it difficult to remove acrylic nails?
Removing acrylic nails requires patience and care. You must soak your nails in acetone and gently remove the softened acrylic. It's important to follow the proper removal process to avoid damaging your natural nails.
