Key Takeaways:
- Gel nail extension kits can be safe for home use with proper precautions.
- Understanding the correct application and removal process is crucial.
- Investing in quality products and tools ensures better results and safety.
Introduction
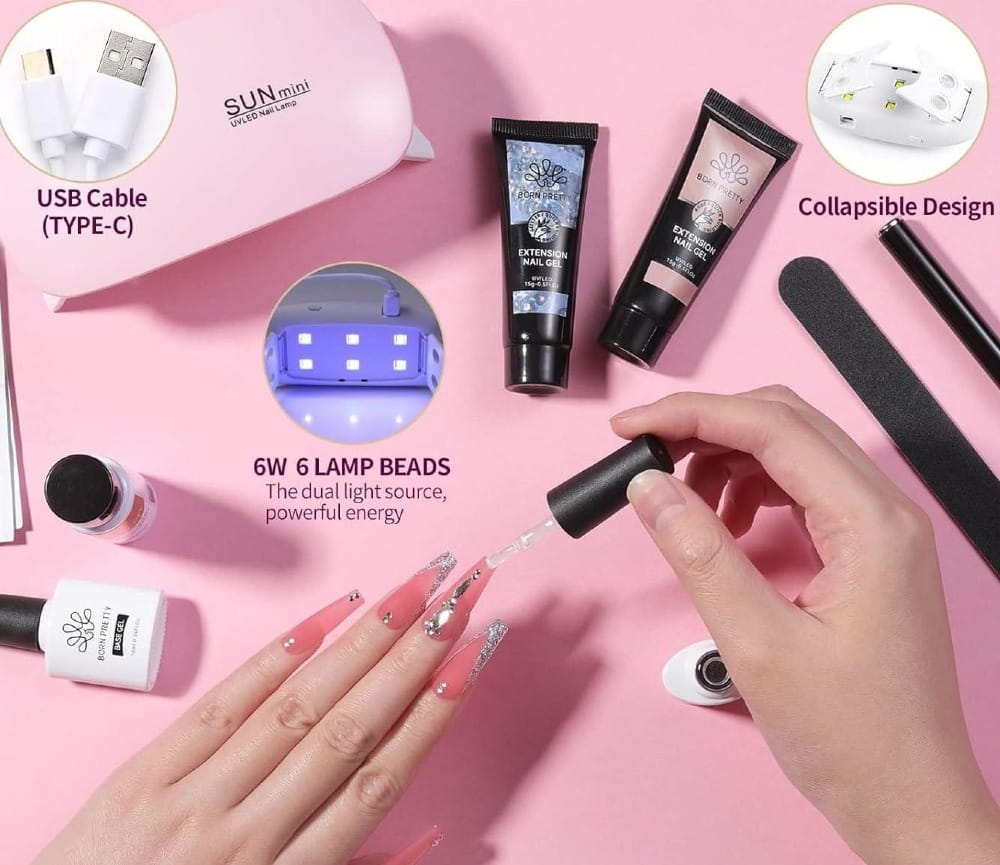
Gel nail extensions have become a popular alternative to acrylic nails, offering a more natural look and feel. But is a gel nail extension kit safe to use at home? This article dives into the nitty-gritty of using these kits, ensuring you can achieve salon-quality nails without stepping out of your house.
Understanding Gel Nail Extensions
Gel nail extensions are a fantastic way to enhance the appearance of your natural nails. Unlike acrylic nails, which use a mixture of liquid and powder, gel extensions use a gel that hardens under a UV or LED lamp. This method provides a more flexible and natural-looking finish.
Using a gel nail extension kit at home can save you so much money compared to regular salon trips. However, it's essential to understand the process and the products involved to ensure your nails remain healthy and beautiful.
The Importance of Nail Prep
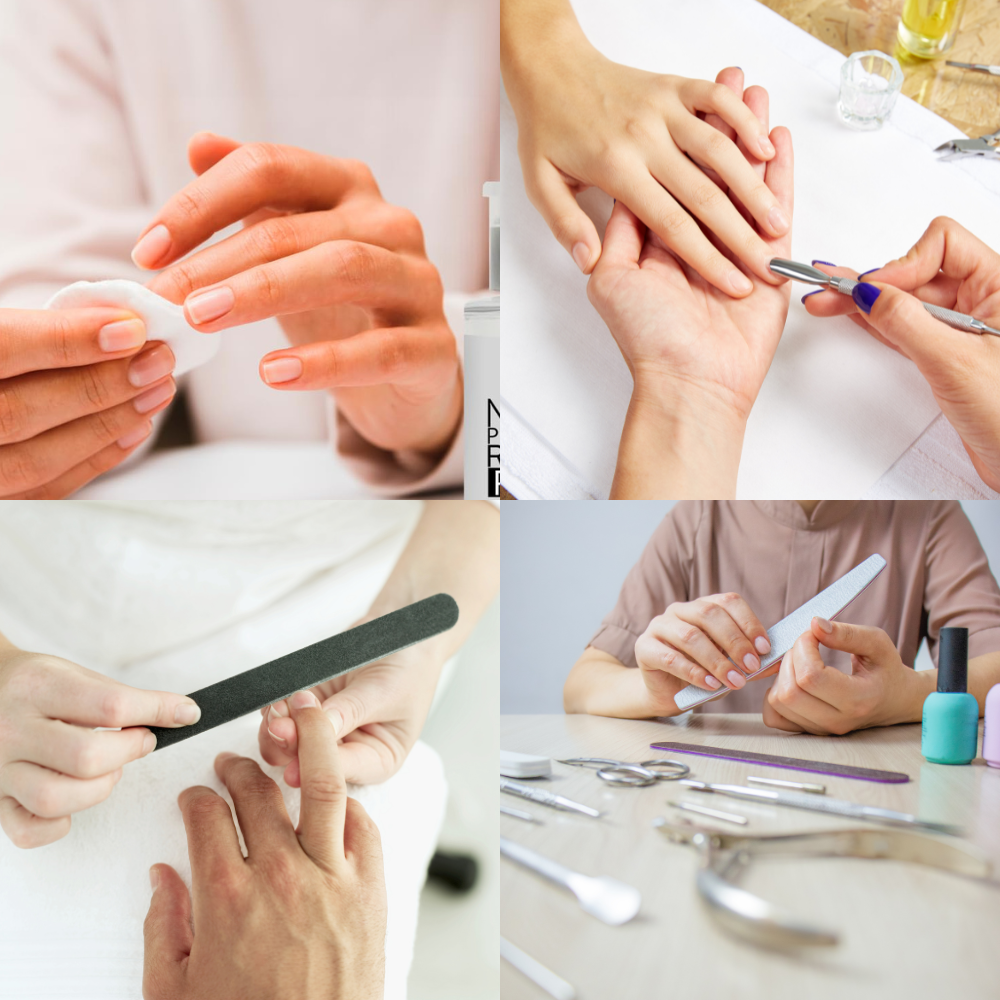
Nail prep is a crucial step in achieving a flawless gel nail extension. Start by cleaning your natural nails with rubbing alcohol to remove any oils or residue. This ensures the gel adheres appropriately to your nail bed.
Next, use a nail file to shape your nails and a cuticle pusher to push back your cuticles gently. This step helps create a smooth surface for the gel application, reducing the risk of lifting and ensuring a longer-lasting manicure.
Choosing the Right Gel Nail Kit
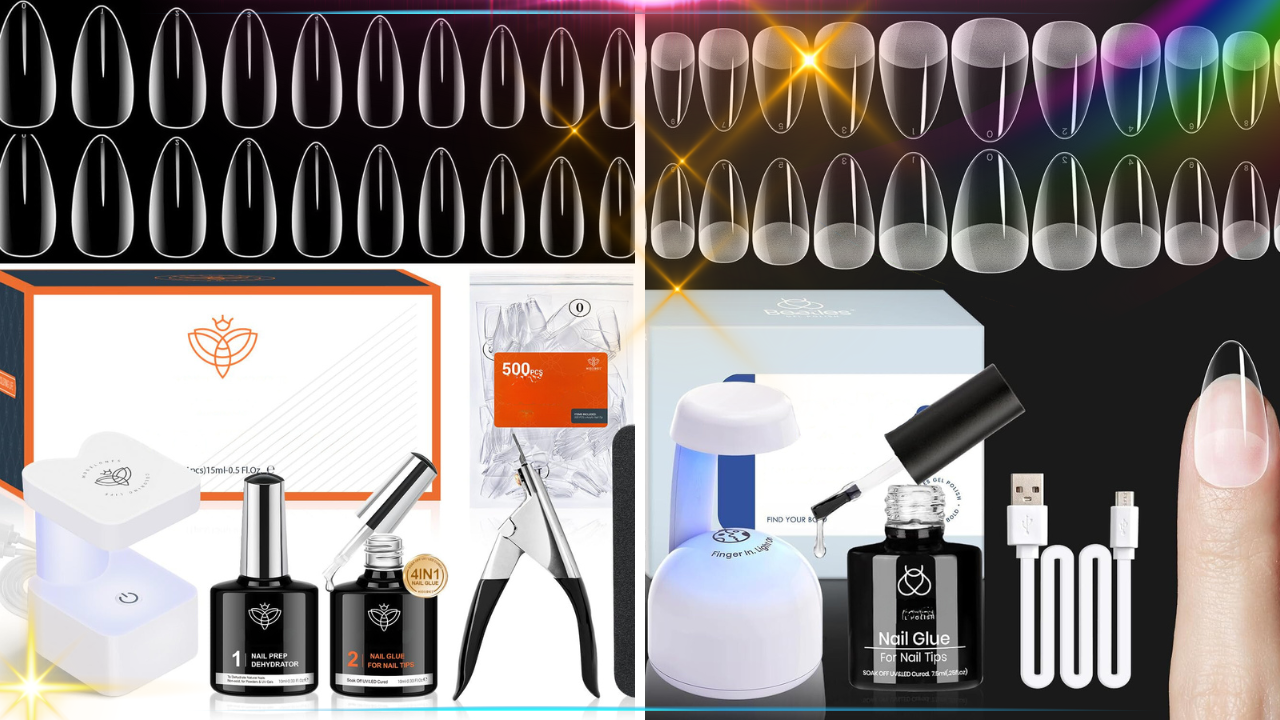
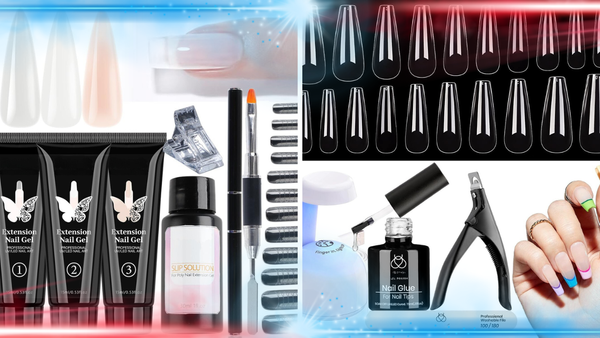
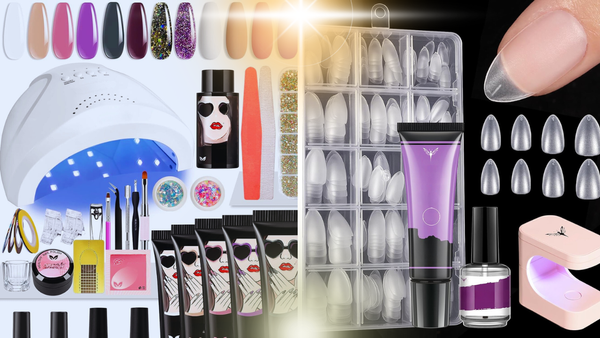
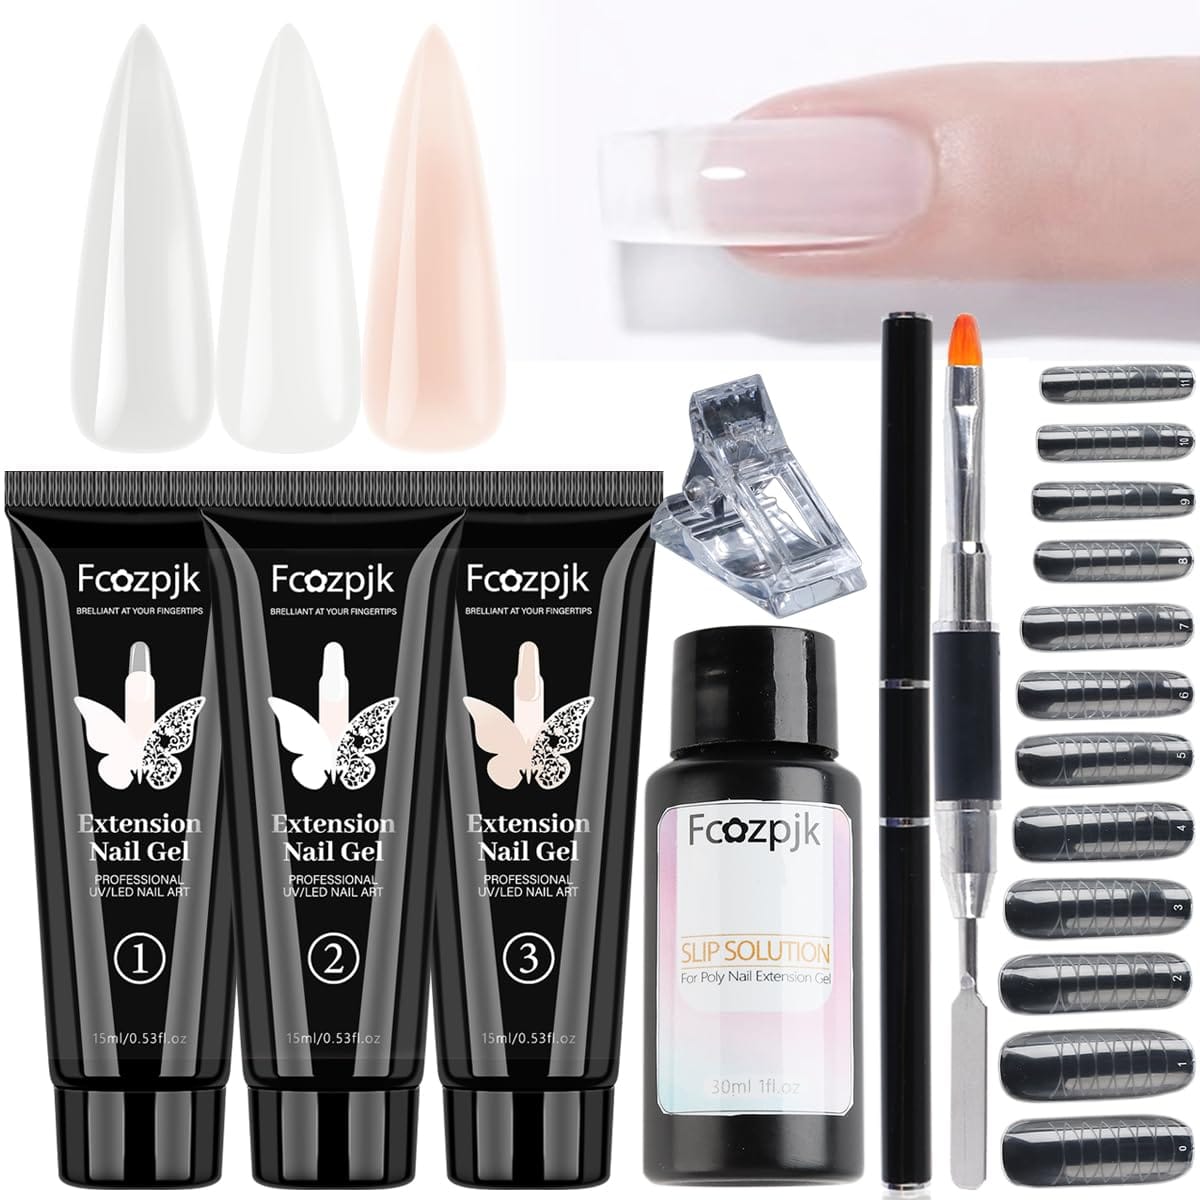
Not all gel nail kits are created equal. Investing in a high-quality kit can make a significant difference in the safety and outcome of your DIY manicure. Look for kits that include a UV or LED lamp, base coat, top coat, and gel polish in various colors.
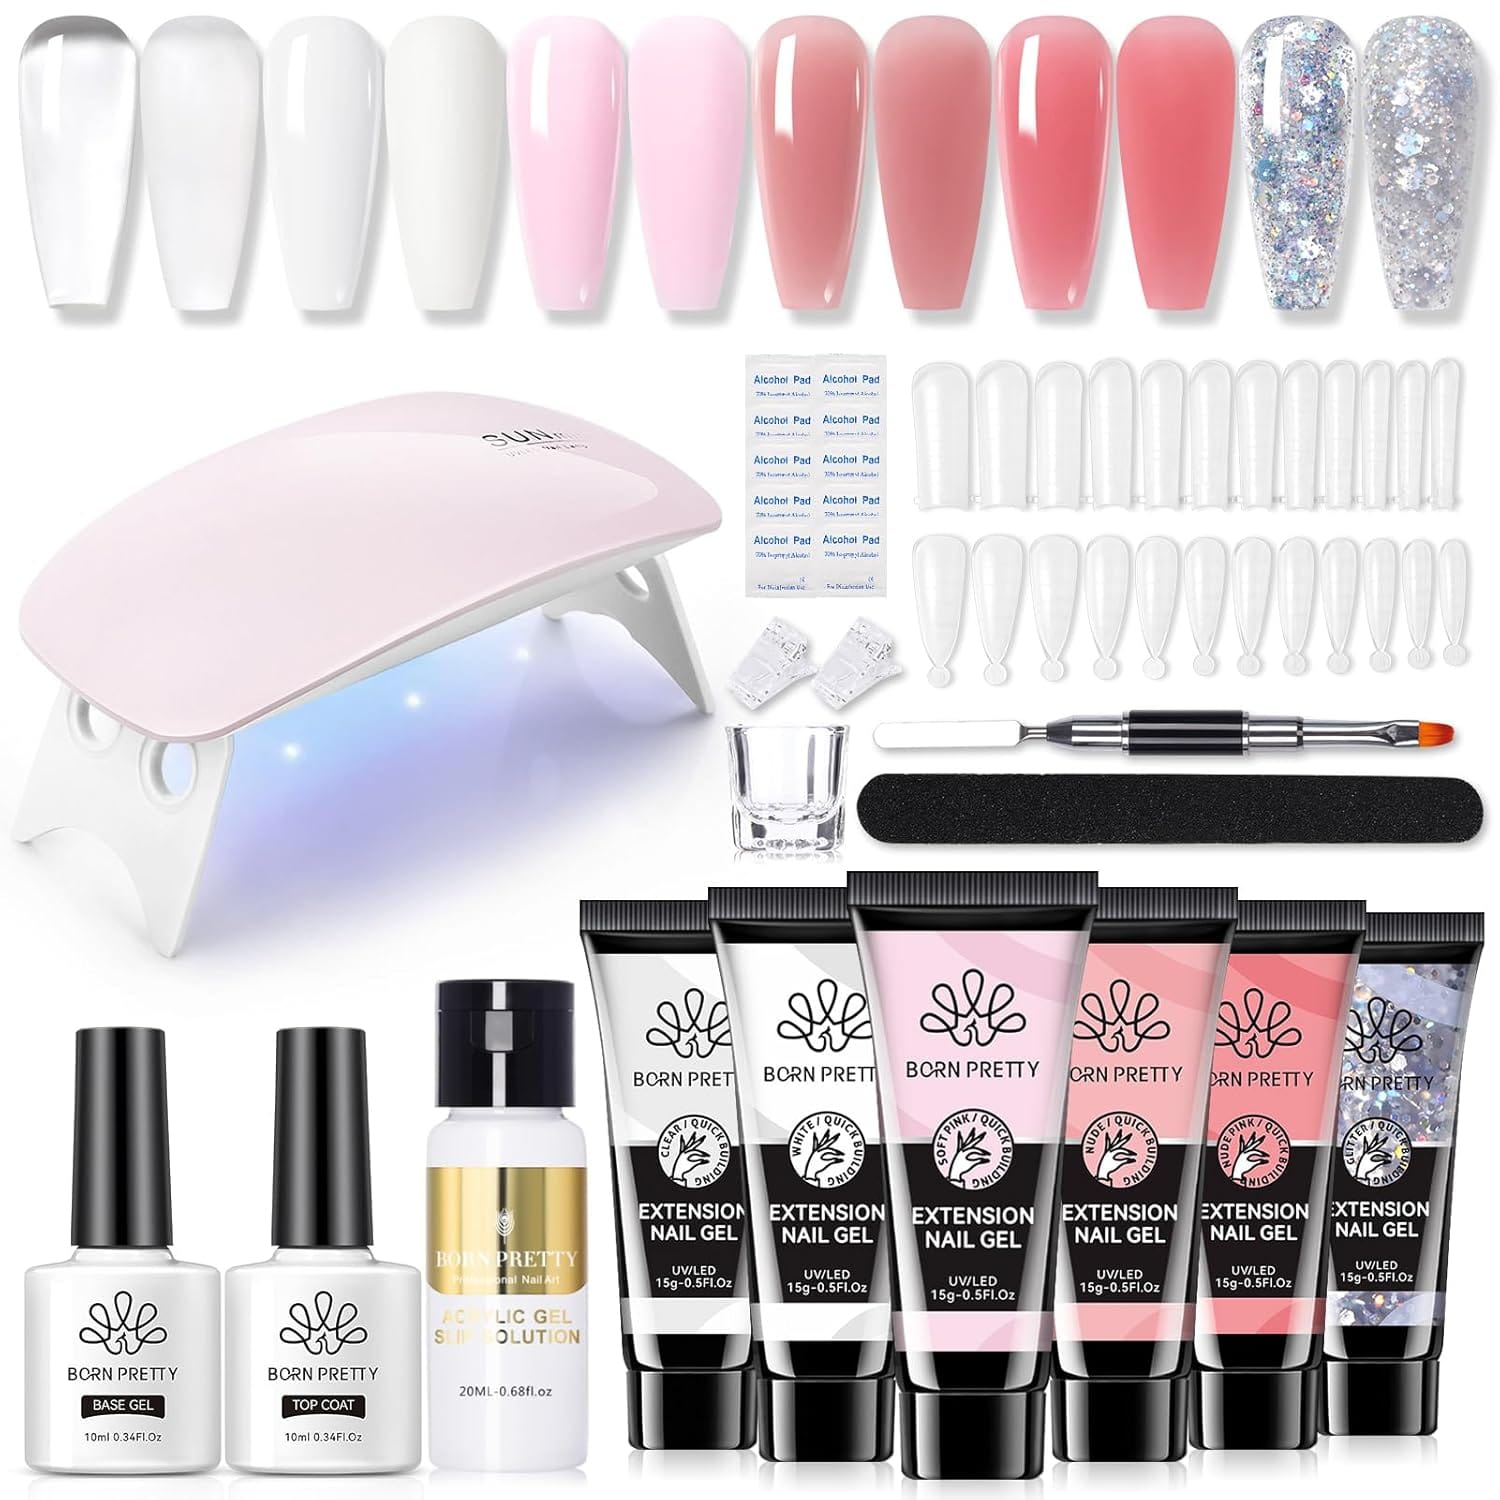
Some kits also come with additional tools like nail files, cuticle oil, and nail forms. These extras can help you achieve a professional-looking finish and maintain the health of your natural nails.
Application Process
The application process for gel nail extensions involves several steps. First, apply a thin coat of base coat to your natural nails and cure it under the UV or LED lamp. This step ensures the gel adheres properly and provides a strong foundation for the extensions.
Next, apply the gel extensions using a nail form or tip. Cure each nail under the lamp before moving on to the next. Once all nails are cured, apply two coats of gel polish, curing each layer under the lamp. Finish with a gel top coat for added shine and durability.
Curing Time
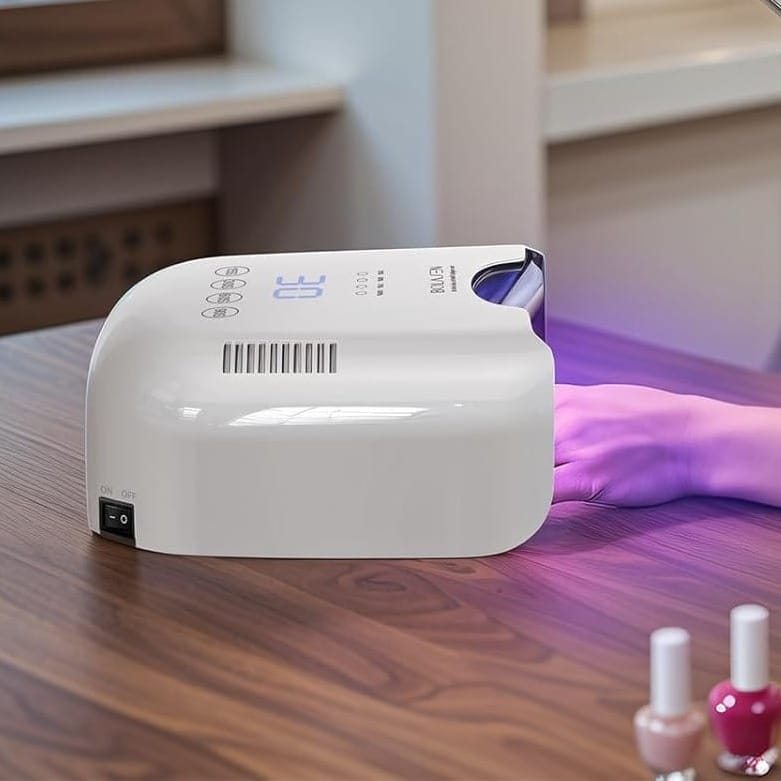
Curing time is a critical factor in achieving a successful gel manicure. Each layer of gel needs to be cured under the UV or LED lamp for a specific amount of time. Follow the instructions provided with your kit to ensure each layer is fully cured.
Improper curing can lead to lifting, peeling, and even damage to your natural nails. Investing in a quality lamp and following the recommended curing times can help you achieve a long-lasting and beautiful manicure.
Removal Process
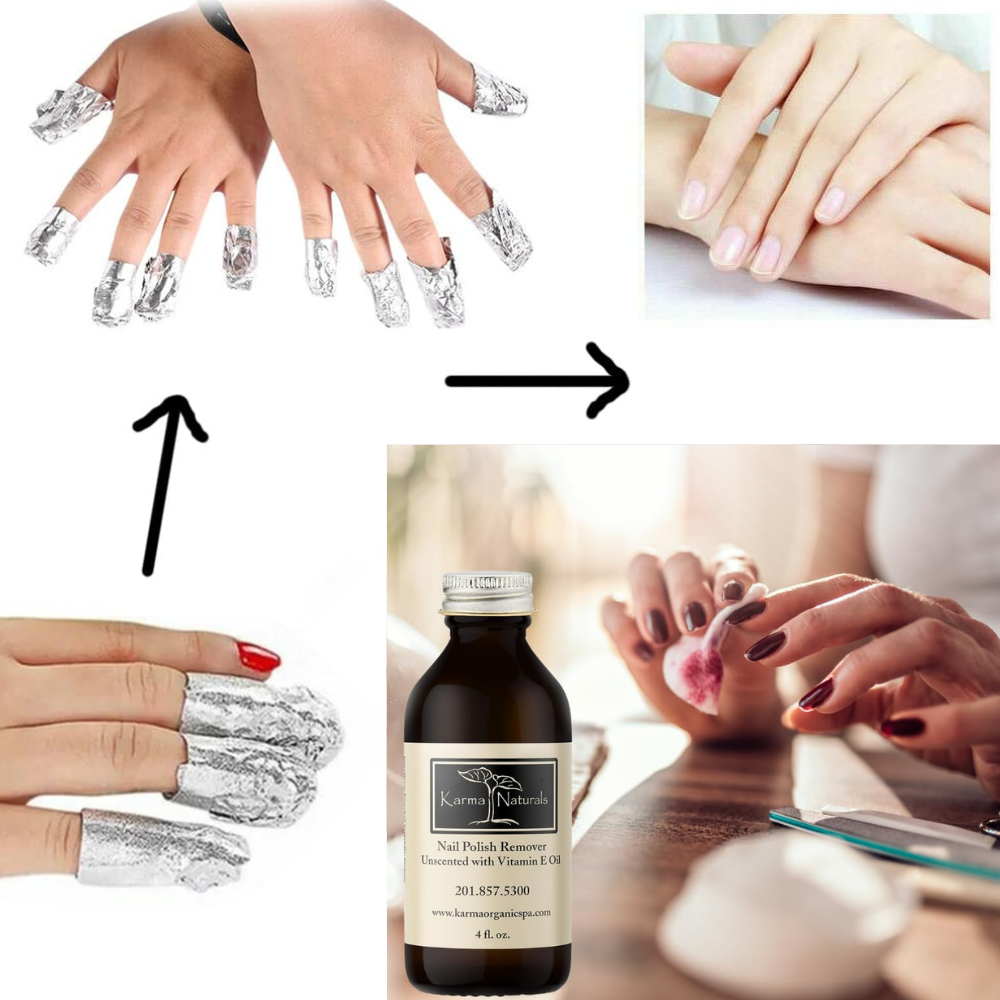
Removing gel nail extensions can be tricky, but it's essential to do it correctly to avoid damaging your natural nails. Start by filing the top layer of the gel to break the seal. Soak a cotton ball in acetone and place it on your nail, wrapping it with aluminum foil.
Leave the foil wraps on for 10-15 minutes to allow the acetone to break down the gel. Gently push off the softened gel with a cuticle pusher, being careful not to scrape or damage your natural nail plate.
Maintaining Nail Health
Maintaining the health of your natural nails is crucial when using gel nail extensions. Regularly apply cuticle oil to keep your cuticles and nails hydrated. This helps prevent dryness and brittleness, which can lead to breakage.
Additionally, give your nails a break between gel manicures to allow them to recover. This can help prevent thinning and weakening of the natural nail plate, ensuring your nails remain strong and healthy.
Common Mistakes to Avoid
One common mistake when using a gel nail extension kit at home is applying the gel too thickly. Thin coats are essential for proper curing and a smooth finish. Applying thick layers can lead to uneven curing and a bulky appearance.
Another mistake is not properly prepping the nails before application. Skipping steps like cleaning, filing, and pushing back cuticles can result in poor adhesion and lifting of the gel extensions.
Benefits of Gel Nail Extensions
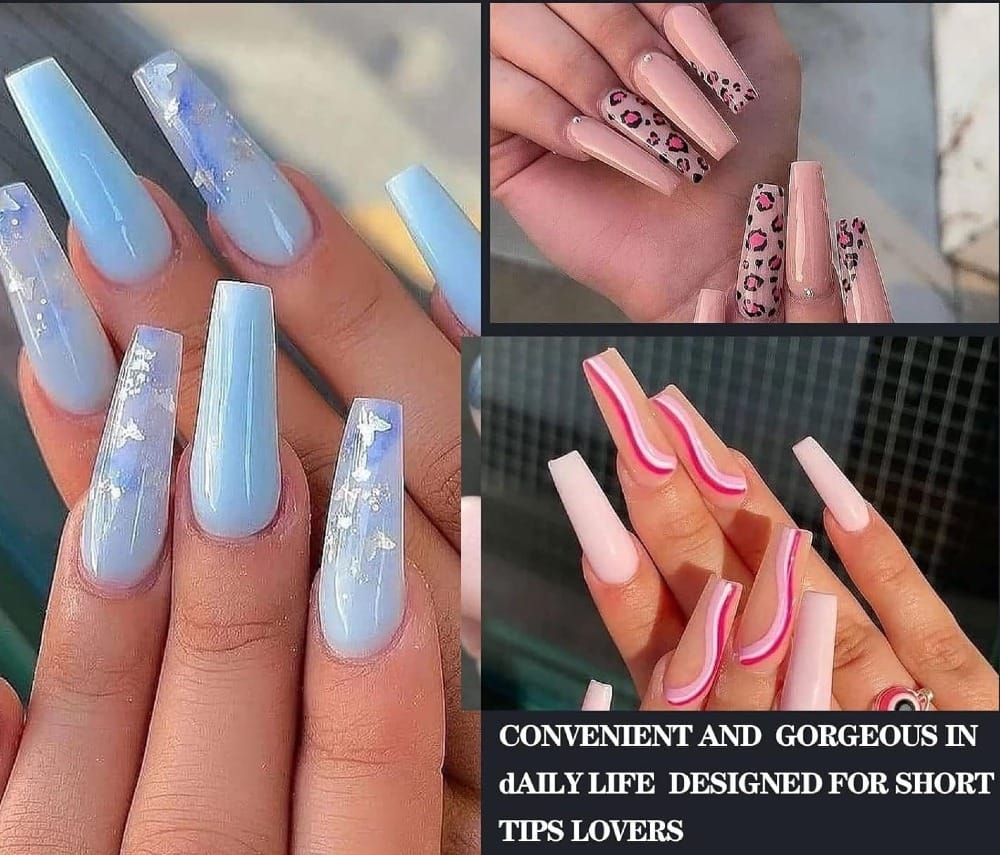
Gel nail extensions offer several benefits over traditional acrylic nails. They provide a more natural look and feel, with a flexible finish that mimics the natural nail. Gel extensions are also less likely to cause damage to the natural nail plate when applied and removed correctly.
Additionally, gel nails are more resistant to chipping and cracking, making them a durable option for those seeking long-lasting manicures. With proper care, gel extensions can last up to three weeks without losing their shine or integrity.
DIY vs. Salon Manicures
While DIY gel nail kits can save you money and time, there are benefits to visiting a professional nail technician. Nail techs have the experience and expertise to ensure a flawless application and removal process, reducing the risk of damage to your natural nails.
However, with the right tools and knowledge, you can achieve salon-quality results at home. Investing in a high-quality gel nail kit and following the proper steps can help you enjoy beautiful, long-lasting nails without the need for frequent salon visits.
Safety Precautions
Safety should always be a priority when using a gel nail extension kit at home. Ensure you are working in a well-ventilated area to avoid inhaling fumes from the gel and acetone. Additionally, avoid direct contact with the skin to prevent irritation or allergic reactions.
Using a UV or LED lamp also requires caution. Avoid looking directly at the light and follow the recommended curing times to prevent overexposure. If you experience any discomfort or adverse reactions, discontinue use and consult a professional.
Tips for Long-Lasting Gel Nails
To ensure your gel nails last as long as possible, follow these tips. First, avoid using your nails as tools to open or pry things, as this can cause lifting and breakage. Additionally, wear gloves when doing household chores to protect your nails from harsh chemicals and water.
Regularly apply cuticle oil to keep your nails and cuticles hydrated. This helps maintain the flexibility and strength of the gel extensions, reducing the risk of chipping and cracking.
Nail Art and Creativity
One of the fun aspects of using a gel nail extension kit at home is the ability to experiment with nail art. Gel polish provides a smooth and durable canvas for various designs, from simple patterns to intricate artwork.
Use nail art tools like brushes, dotting tools, and stamping plates to create unique designs. You can also add embellishments like rhinestones, glitter, and decals to elevate your manicure and showcase your creativity.
Comparing Gel and Acrylic Nails
Gel and acrylic nails each have their pros and cons. Gel nails offer a more natural look and feel, with a flexible finish that mimics the natural nail. They are also less likely to cause damage to the natural nail plate when applied and removed correctly.
Acrylic nails, on the other hand, are known for their strength and durability. They can be shaped and sculpted to create various nail designs and lengths. However, they can be more damaging to the natural nails and require more maintenance.
Conclusion
A gel nail extension kit at home can be a safe and cost-effective way to achieve beautiful, long-lasting nails. You can enjoy salon-quality results without leaving your home by understanding the application and removal process, investing in quality products, and following safety precautions.
Please click here if you’re interested in other nail products and want to get up to 50% off.
FAQ Section
Can I use a gel nail extension kit if I have short nails?
Yes, gel nail extension kits can be used on short nails. The extensions can add length and provide a smooth surface for applying gel polish.
How often should I give my nails a break from gel extensions?
It's recommended to give your nails a break every few months to allow them to recover and prevent the thinning and weakening of the natural nail plate.
What should I do if I experience an allergic reaction to the gel products?
If you experience discomfort or allergic reactions, discontinue use immediately and consult a professional. It's essential to identify the cause of the reaction and avoid using products that contain the allergen.
