Key Takeaways:
- Learn simple and safe methods to create fake nails for kids using everyday home supplies.
- Discover how to protect young cuticles and nail beds during the fun nail art process.
- Gain insight into easy removal techniques to ensure the health of natural nails.
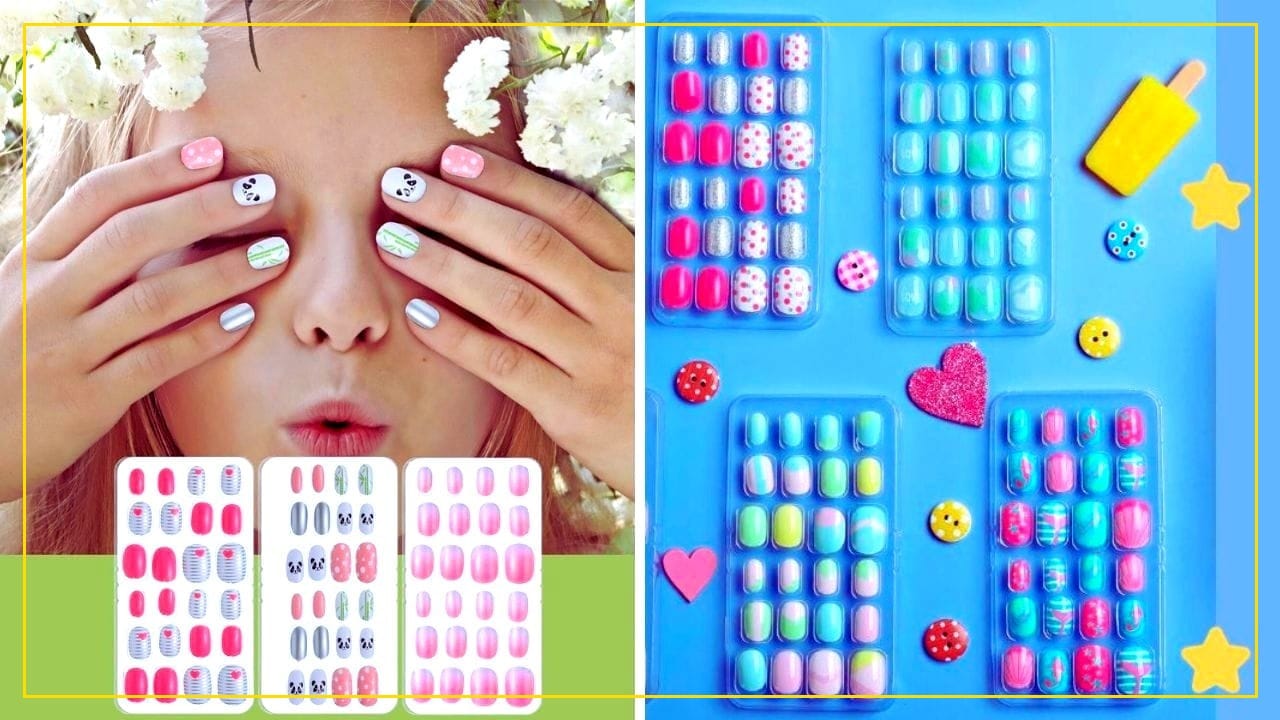
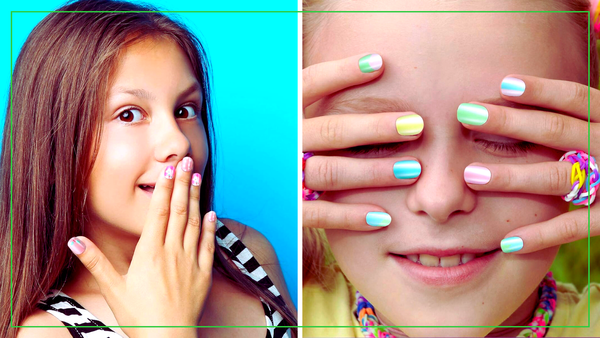
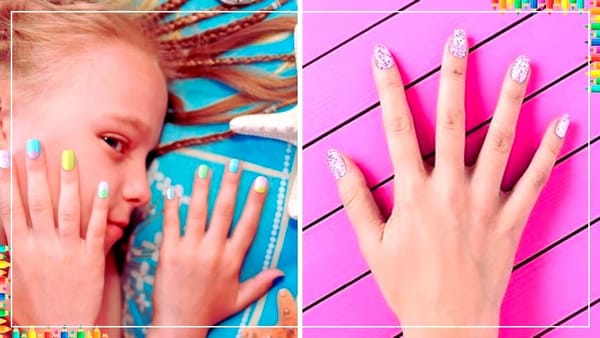
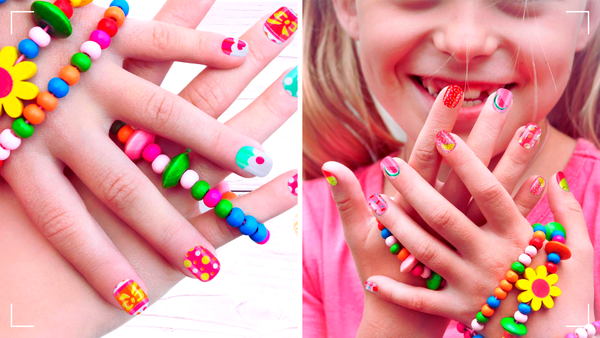
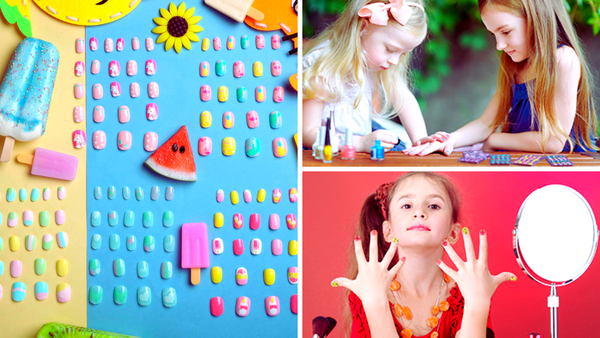
Creating fake nails for kids can be a fun and engaging activity that allows them to express their creativity and enjoy the glamour of nail art without the commitment or potential damage of acrylic nails. This guide will walk you through making fake nails for kids, using materials that are easy to find and safe to use.
Choosing the Right Materials
When it comes to DIY nails, especially for kids, safety is paramount. You'll want to choose non-toxic materials and easy to work with. Construction paper, white glue, and plastic are great starting points. These materials are readily available and easily shaped and decorated to create fun and colorful fake nails.
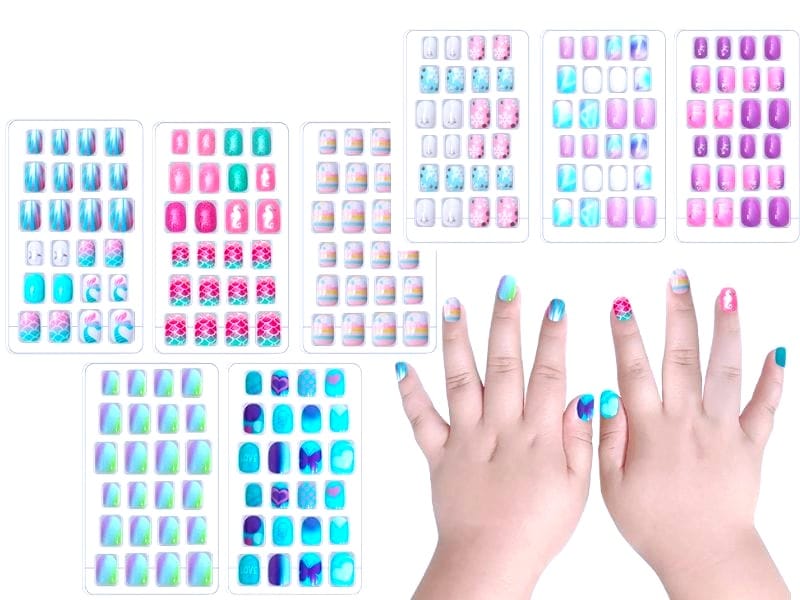
For the adhesive, regular white glue or nail glue designed for paper nails can be used. These glues are gentle on the skin and typically wash off with water, making them ideal for children's nail art projects. Remember to always supervise kids during the crafting process to ensure they handle materials safely.
Preparing the Nails
Before you start the DIY fake nails process, it's important to prepare natural nails. Ensure that the nails and cuticles are clean and dry. This will help the fake nails adhere better and last longer. If you're using tape, it can serve as a gentle alternative to glue, making it easier to remove the fake nails later.
Protecting the cuticles is also crucial. You can apply a thin layer of petroleum jelly around the nail bed to keep the area moisturized and shielded from any glue or tape. This step is especially important when working with younger kids whose skin may be more sensitive.
Crafting the Fake Nails
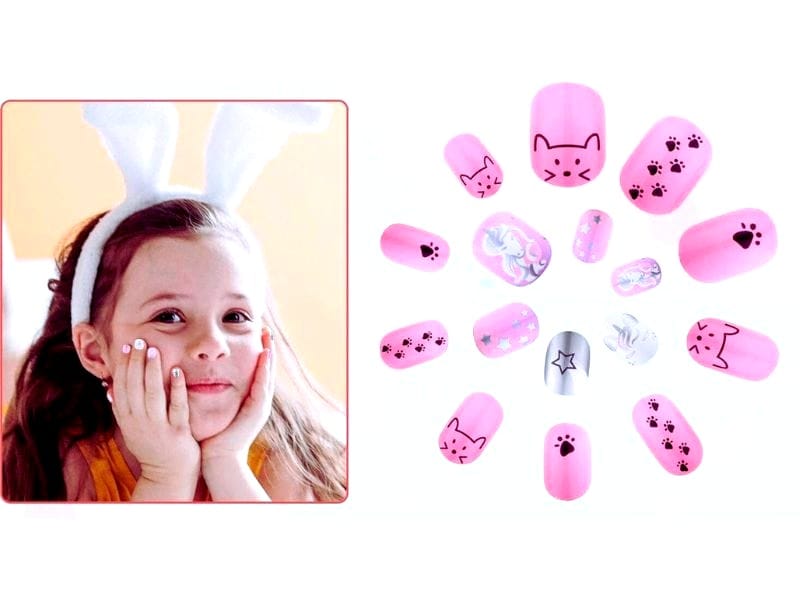
To make fake nails at home, trace the child's nails onto construction paper or plastic. Cut out the shapes, then let the kids decorate them with nail art. Encourage them to search for design ideas online or let their imagination run wild. They can use markers, stickers, or glitter to personalize their nails.
Once the designs are complete, apply a thin layer of white or nail glue to the paper nails and carefully place them on the child's natural nails. Press down gently but firmly to ensure they stick. If you're using tape, cut small pieces to fit the base of the nail and secure the fake nails in place.
Nail Art and Decoration
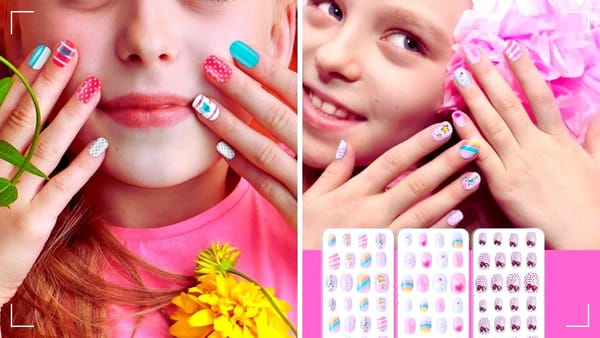
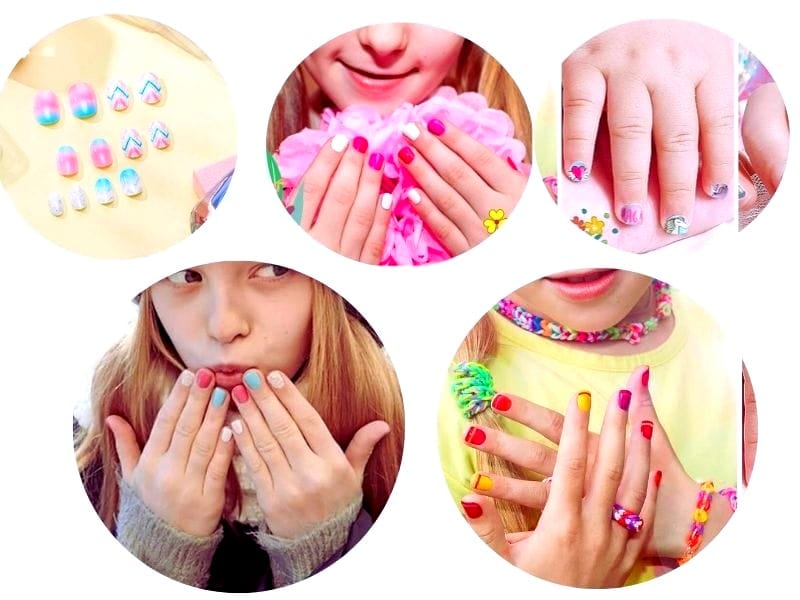
Nail art is where kids can truly express themselves. Whether they choose to mimic the designs of their favorite artist or create something unique, the sky's the limit. Provide them with a variety of tools and materials like brushes, dotting tools, and different colors of nail gel or paint.
For a simple yet effective design, kids can dip a toothpick into nail gel and create dots or stripes on their paper nails. They can also use stencils to make patterns or apply small stickers for a 3D effect. Encourage them to sign their art or add a date to remember the day they became a nail artist.
Ensuring Durability
To make the fake nails last throughout the day, it's important to reinforce them. One way to do this is by applying a clear nail gel over the decorated paper nails. This not only adds shine but also provides a protective layer that can withstand the wear and tear of a child's active day.
Another tip is to advise kids to avoid water for a certain period after applying the fake nails. This allows the glue or tape to set properly and reduces the chances of the nails coming off prematurely. Remind them that while the nails are durable, they should still be mindful of their activities to keep their nail art intact.
Safe Removal of Fake Nails
When removing the fake nails, it's important to do so gently to avoid damaging the natural nails. Soaking the hands in warm water can help loosen the glue or tape. Encourage kids to soak for a few minutes and then use a blunt object like a popsicle stick to slowly lift the edges of the fake nails.
If the nails are particularly stubborn, you can mix oil with warm water to help break down the adhesive. Remind kids to be patient and never force the nails off, as this could harm their natural nails or cuticles.
Nail Care Post-Removal
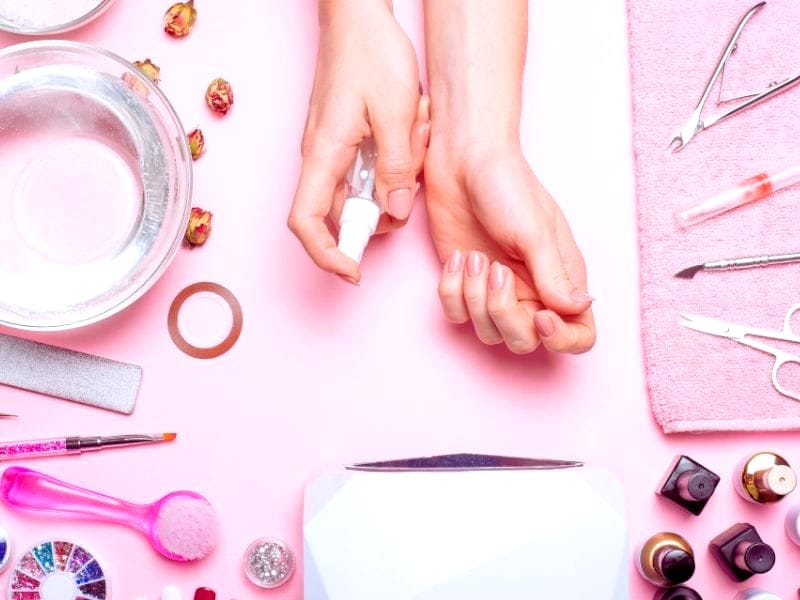
After removing the fake nails, it's a good time to teach kids about proper nail care. Explain the importance of moisturizing their hands and nails, especially if they've been in water or used glue. A simple hand cream or cuticle oil can replenish lost moisture and keep their nails healthy.
It's also a good opportunity to trim and file their natural nails if necessary. Show them how to gently push back their cuticles with a soft cuticle pusher, emphasizing that cuticles should never be cut or removed harshly.
Summary
Making fake nails for kids is an enjoyable and creative activity that can be done safely at home with simple supplies. By choosing the right materials, preparing the nails properly, and encouraging creative nail art, kids can have fun while learning about nail care. Remember to supervise the process, especially when applying and removing the fake nails, to ensure the safety and health of the child's natural nails.
FAQ Section
What materials are safe to use for kids' fake nails?
Safe materials for kids' fake nails include construction paper, white glue, nail glue for paper nails, tape, and non-toxic nail gel or paint. Always supervise children to ensure they handle materials safely.
How can I make the fake nails last longer?
To make fake nails last longer, reinforce them with a clear nail gel topcoat and advise kids to avoid water after application. Using durable materials and proper application techniques can also extend the life of the fake nails.
What is the safest way to remove fake nails from kids?
The safest way to remove fake nails is to soak the child's hands in warm water, possibly with a bit of oil, to loosen the adhesive. Then, gently lift the edges of the fake nails with a blunt object like a popsicle stick. Never force the nails off to avoid damaging the natural nails.
