Key Takeaways:
- Discover the optimal number of glitter nail polish coats for a dazzling finish.
- Learn the step-by-step guide to applying glitter polish for long-lasting wear time.
- Uncover pro tips and tricks for a smooth, even glitter nail polish application.
Glitter nail polish is the go-to choice for anyone looking to add a bit of sparkle and shine to their manicure. But when it comes to applying it, there's often a question that pops up: How many coats of glitter nail polish should I apply? The answer isn't as straightforward as regular polish, but don't worry, we've got you covered with a comprehensive guide that will have your nails outshining the stars.
The Basics of Glitter Nail Polish
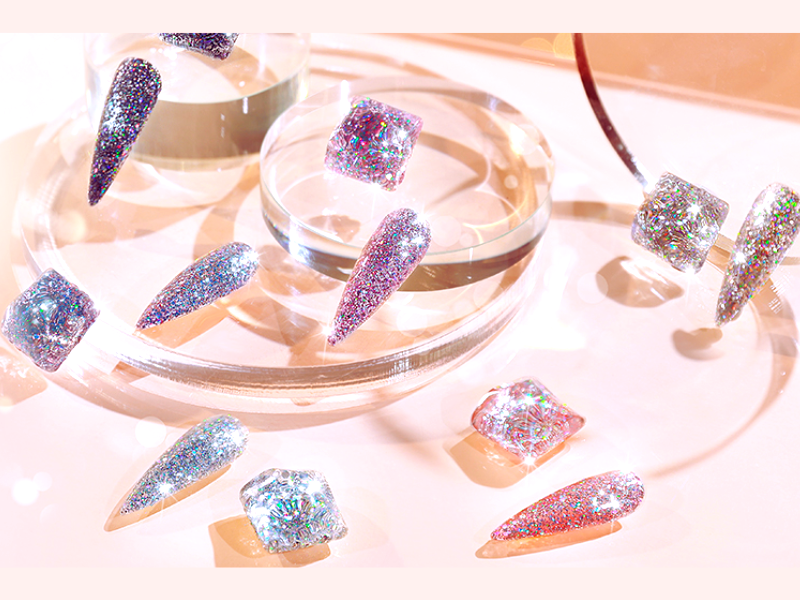
Before diving into the specifics, let's discuss what makes glitter nail polish unique. Unlike regular polish, glitter polish contains small to large glitters suspended in a clear or tinted base. These sparkly particles reflect light, creating that signature sparkle we all love. However, achieving an even layer of glitter can be challenging, so understanding the right application technique is crucial.
Prepping Your Nails
Start with clean, dry nails. Any moisture or oil can prevent the polish from adhering properly, leading to chipping. Use a cotton ball soaked in acetone to wipe your nails and remove any residue. Don't forget to push back your cuticles and apply cuticle oil for healthy nail beds.
The Role of Base Coat
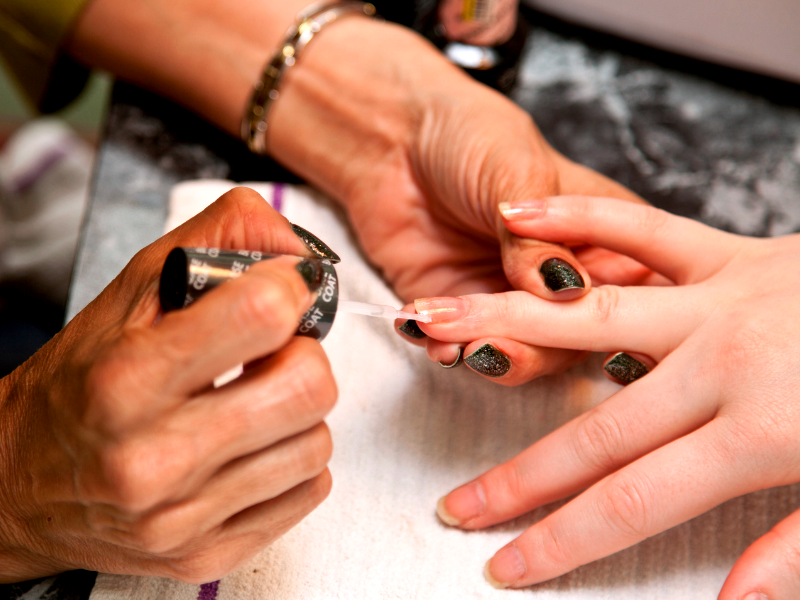
A clear base coat is your best friend when it comes to glitter polish. It not only protects your nails from staining but also provides better adherence to the glitter. Apply a thin layer and let it dry completely before applying the glittery goodness.
Applying the First Coat of Glitter
With your base coat dry, it's time for the first layer of glitter. This initial coat should be thin and even. Don't worry if the glitter seems sparse; building up layers is key. Allow this coat to dry completely before adding more.
To Layer or Not to Layer
Layering is the secret to achieving full coverage with glitter polish. After the first coat, apply a second coat of glitter. This is where you'll see more sparkle and less of your natural nail peeking through. Remember, thin coats are better as they dry faster and reduce the risk of peeling.

The Sponge Technique
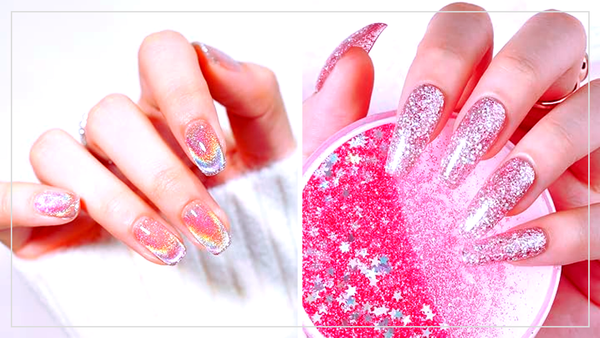
For those who want a more concentrated glitter look, the makeup sponge technique is a game-changer. Pour a few drops of glitter polish onto a sponge and dab it onto your nails. The sponge absorbs the excess base, leaving more glitter on your nails. Repeat this step until you're satisfied with the coverage.
Maximizing Wear Time for Glitter Nails
Glitter nail polish is notorious for its short-lived sparkle on your nails, but with a few strategic moves, you can extend the wear time of your glittery manicure. The key is to start with a solid foundation. Before opening your glitter polish, ensure your nails are clean, dry, and oil-free. Apply a clear base coat to protect your nails and provide better adherence to the glitter polish. This step is crucial as it prevents the glitter from chipping and peeling prematurely.
Once your base coat is dry, go in with your first coat of glitter nail polish. Remember, thin coats are your friend here. They dry faster and reduce the likelihood of smudging. After the first layer has dried completely, apply a second coat if necessary. Some nail techs recommend applying a fresh coat every few days to maintain the sparkle and protect the underlying layers. Don't forget to seal everything with a high-quality top coat, which protects against the daily wear and tear that can dull your glitter nails.
The Art of Layering Glitter Polish
Creating a show-stopping glitter manicure is all about the art of layering. Start with a thin layer of regular polish as your base color. This step is optional but can add depth and enhance the overall look of your glitter nails. Once your base color is dry, it's time to apply glitter nail polish. If you're using fine glitter, you may achieve full coverage with one or two coats. However, for larger glitters or a more dramatic effect, you'll want to build up the sparkle with several thin layers.
Each layer should be given ample time to dry to avoid dragging the glitter and creating an uneven surface. If you're in a hurry, a quick-dry top coat can be a lifesaver. For an even distribution of glitter, you can use the sponge technique: dab a makeup sponge with glitter polish and gently tap it onto your nails. This method helps to pack the glitter without the excess base polish. Finish with a top coat to smooth everything out and add shine. With patience and precision, layering can take your glitter nails from pretty to mesmerizing.
Sealing with a Top Coat
A top coat is essential for sealing in the glitter and providing a smooth finish. It also extends the wear time of your manicure. Apply a generous layer of top coat and let it dry completely. For larger glitters, you might need a second top coat to achieve a smooth surface.

When to Stop Adding Coats
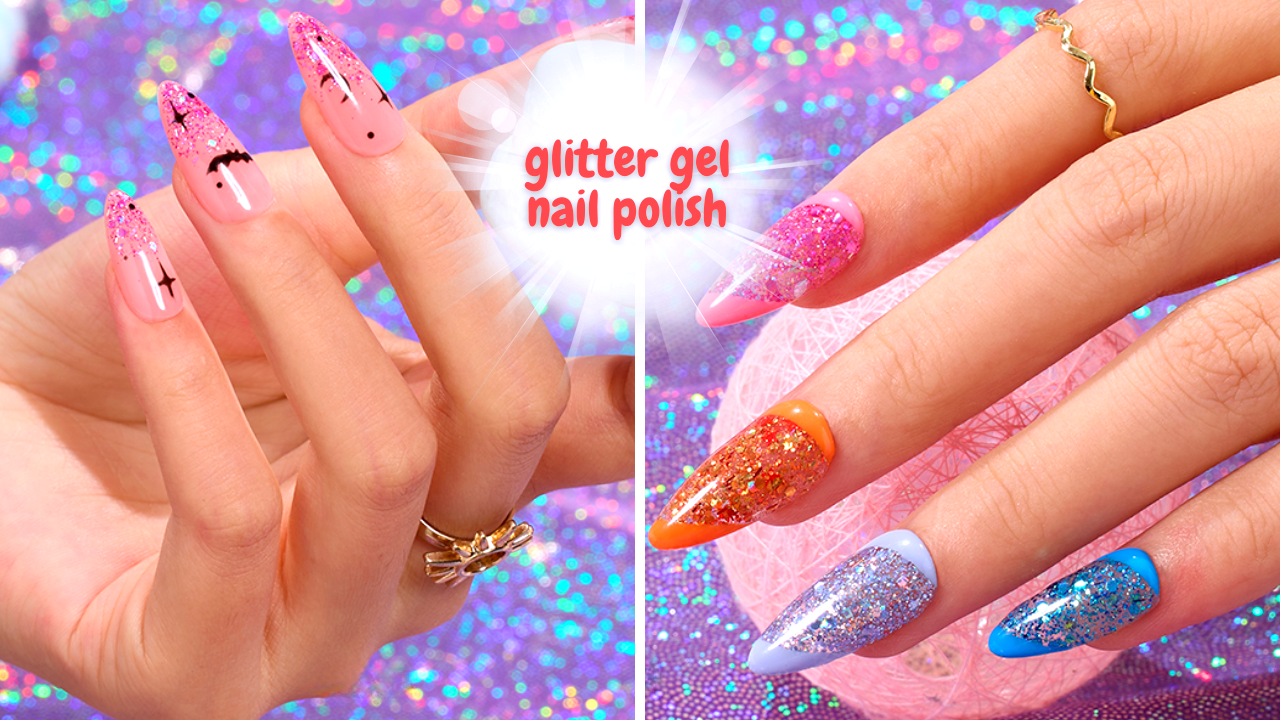
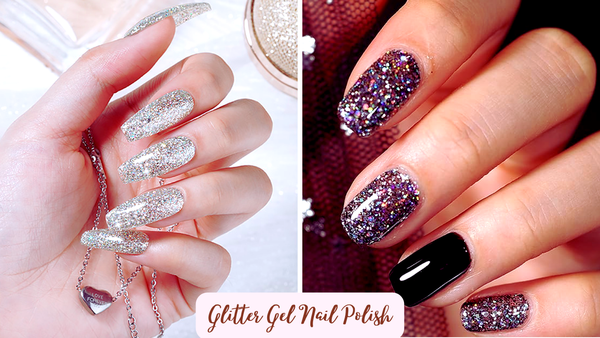
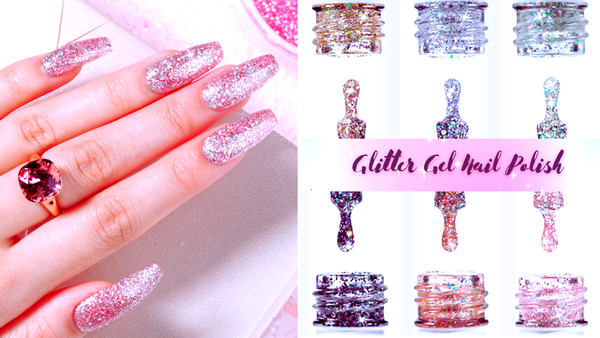
So, how many coats of glitter gel nail polish should you apply? The answer varies. Two to three coats are usually sufficient for fine glitter, while larger glitters may require more layers. The key is to stop when you've reached your desired level of sparkle without creating a thick, goopy mess.
The Peel-Off Base Coat Trick
If you dread the removal process, consider using a peel-off base coat. This allows you to simply peel away the glitter polish without the need for harsh removers. It's a great option for those who like to change their nail color frequently.
The Importance of Drying Time
Patience is crucial when applying glitter polish. Each coat needs to dry completely before adding the next. Rushing the process can lead to smudging and uneven layers. Give yourself plenty of time for a flawless finish.
Aftercare for Glitter Nails
To maintain the shine and prevent chipping, reapply a top coat every few days. Also, keep your nails and cuticles moisturized with oil to protect your skin from drying out.
Removing Glitter Nail Polish
When it's time to say goodbye to your glitter nails, soak a cotton ball in acetone, place it on your nail, and wrap it with foil. Let it sit for a few minutes, then gently wipe away the polish. This method helps to break down the glitter for easier removal.
DIY Glitter Nail Polish
Feeling creative? Mix your glitter polish by adding fine glitter to a bottle of clear base coat. Shake well and apply following the same steps. This way, you can customize the color and size of the glitter to your liking.
Summary
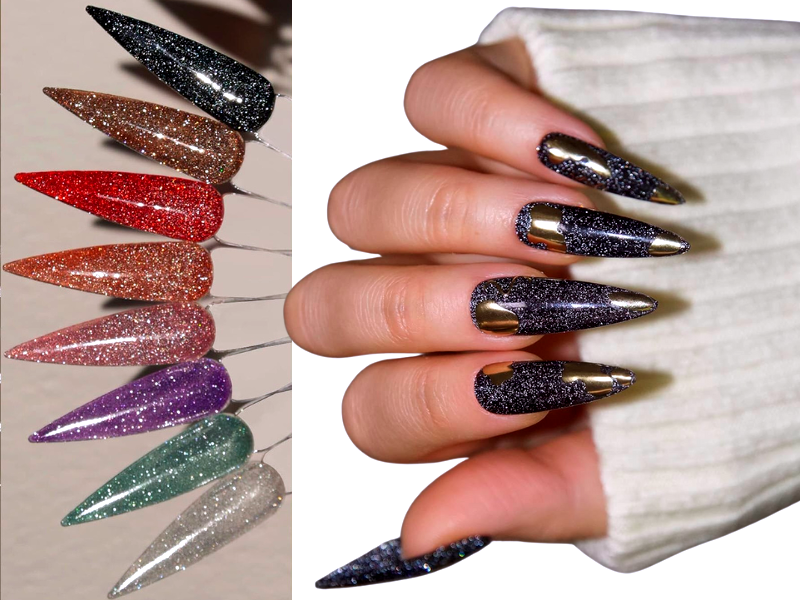
Glitter nail polish is a fun way to add some pizzazz to your manicure, but it does require a bit of know-how to apply it correctly. Remember to start with a base coat, apply thin layers of glitter, and seal it with a top coat. Use the sponge technique for denser glitter coverage and be patient with drying time. With these tips, you'll have a sparkling manicure that lasts.
FAQ Section
Can I use regular polish under glitter nail polish?
Yes, you can apply a coat of regular polish as a base color before adding glitter polish. This can enhance the sparkle and provide a uniform background color.
How can I make my glitter nail polish last longer?
To extend the wear time of your glitter polish, apply a clear top coat every few days, avoid using your nails as tools, and keep your hands and nails moisturized.
What's the best way to prevent glitter polish from getting on my skin?
Apply a thin layer of peel-off glue or petroleum jelly around your nails before painting. Once you're done, you can simply peel or wipe away any excess polish from your skin.
