Key Takeaways:
- Understanding the drying time for black gel polish is crucial for a long-lasting manicure.
- The use of UV or LED lamps significantly reduces the drying time compared to air drying.
- Proper application techniques, such as several thin coats, can ensure a quicker and more even cure.
Gel nail polish has revolutionized the world of manicures with its long-lasting wear and perfect shine. Among the plethora of colors available, black gel polish stands out for its bold statement and versatility. However, one common question that arises is: how long does black gel polish take to dry? This article will delve into the specifics of gel polish drying times, the role of UV and LED lamps, and tips to ensure your black gel nails maintain their allure without the inconvenience of a lengthy drying process.
The Basics of Gel Nail Polish
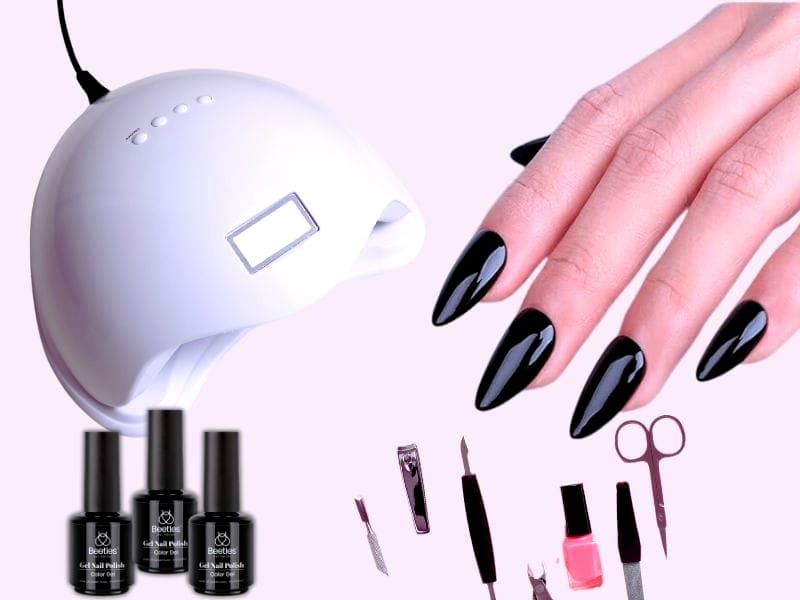
Gel nail polish is a type of nail lacquer designed to last longer than regular nail polish. Unlike traditional polish that air dries, gel polish requires curing under a UV or LED lamp. This process sets the polish, making it harder and more resistant to chipping and peeling. The curing time can vary based on the type of lamp used and the thickness of the application.
UV vs. LED Nail Lamps
When it comes to drying gel polish, the type of nail lamp plays a pivotal role. UV lamps have been the standard for years, typically taking about two minutes per coat to cure gel polish. On the other hand, LED lamps are a newer technology that can cure gel polish in about 30 seconds to a minute per coat. Both lamps emit wavelengths that initiate the curing process, but LED lamps do so more efficiently.
Preparing Your Nails
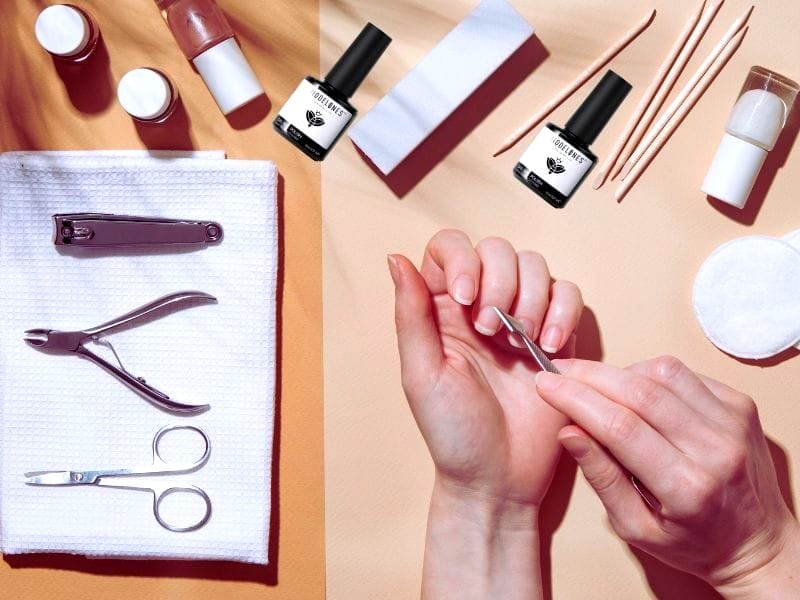
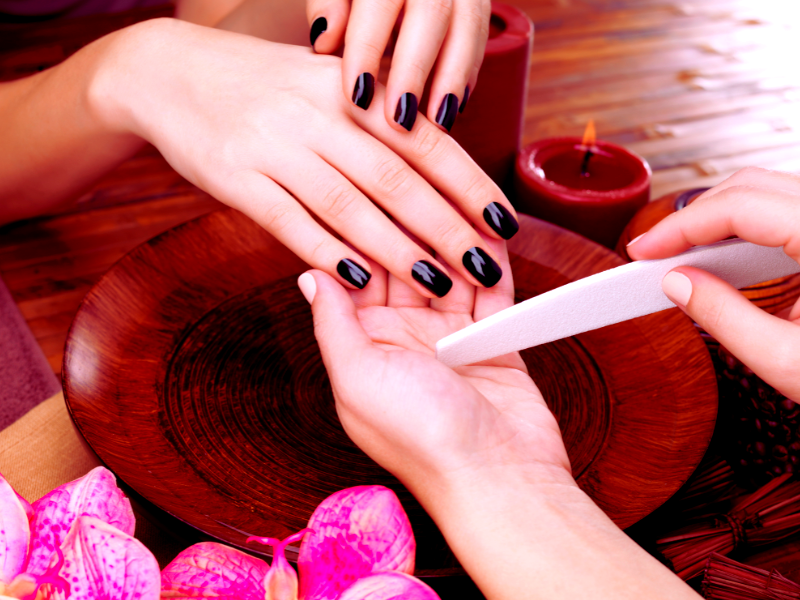
Before you even start painting your nails with gel polish, proper preparation is key. Start using a nail file to shape your nails and remove any existing polish. Push back your cuticles and buff the surface of your natural nail to create a smooth base. This helps the gel base coat adhere better and reduces the risk of peeling.
Applying the Gel Base Coat
The foundation of any gel manicure is the base coat. Apply a thin layer of gel base coat to your nails, taking care not to get any on your skin. Cure the base coat under a UV or LED lamp according to the manufacturer's instructions. This step is crucial for the overall longevity of your manicure.
The Importance of Thin Coats
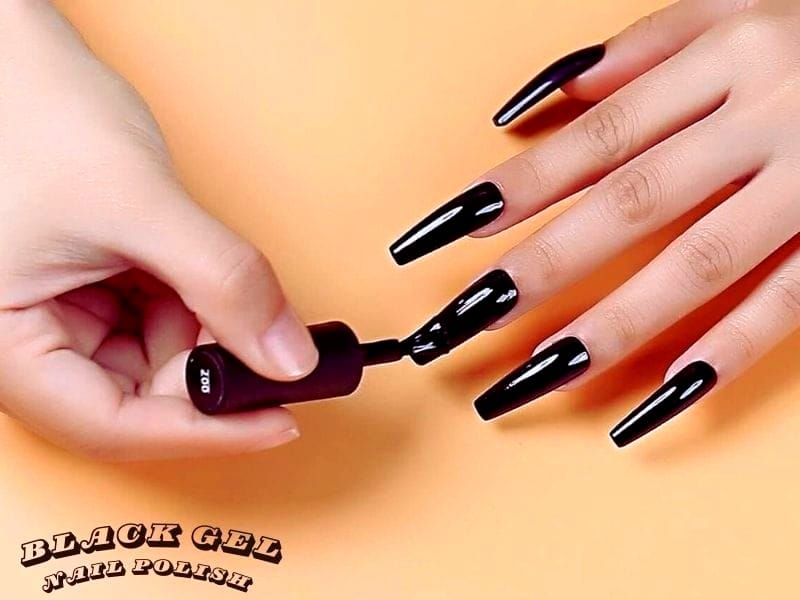
When applying black gel polish, it's essential to use several thin coats rather than one thick layer. Thick layers can lead to an uneven cure and remain tacky or dent easily. Thin coats ensure that each layer cures completely and contributes to the overall strength and durability of the manicure.
Curing Each Layer
After applying the first thin coat of black gel polish, cure it under the nail lamp. The time required will depend on whether you're using a UV or LED lamp. Repeat this process for the second coat, ensuring each layer is completely dry before moving on to the next.
Adding the Top Coat
The top coat is what gives gel nails their signature shine and protection. Apply a thin layer of top coat over the cured black gel polish and cure it under the lamp. Some top coats have a sticky residue after curing, which can be removed with a cotton pad soaked in isopropyl alcohol.
The Drying Process
The drying process for black gel polish involves curing each layer under a nail lamp. The total time required from start to finish can range from a few minutes to about fifteen minutes, depending on the number of coats and the type of lamp used. This is significantly faster than air drying regular nail polish, which can take up to an hour to dry completely.
Maximizing Durability: Tips for Long-Lasting Gel Polish
When it comes to ensuring your black gel polish remains chip-free and glossy for as long as possible, a few key steps can make all the difference. First, it's essential to apply several thin coats rather than one thick layer. This not only helps the gel cure more effectively under a UV or LED lamp but also prevents peeling and chipping that can occur with thicker applications. Each thin layer should be cured for about five minutes, depending on the lamp's power, to achieve that perfect shine without compromising the polish's integrity.
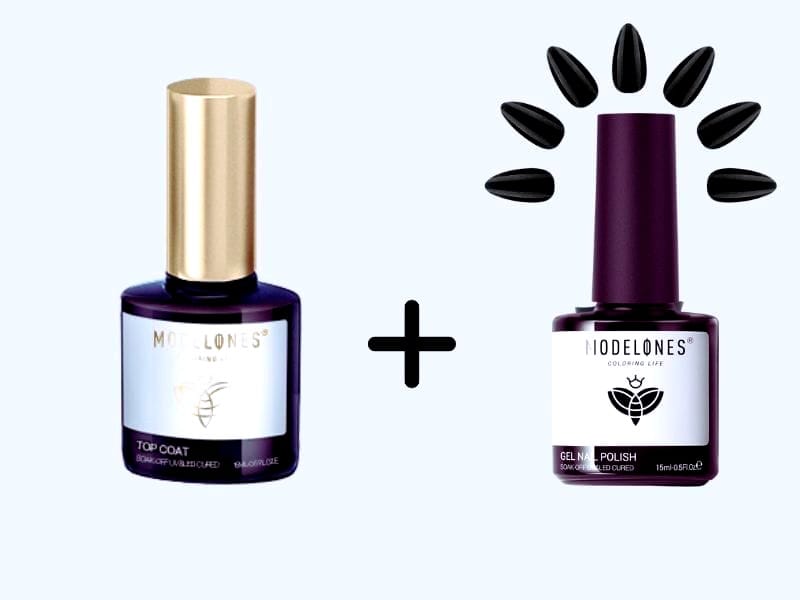
Moreover, the top coat is your armor against the daily wear and tear that your nails endure. Applying a high-quality top coat can extend the life of your manicure significantly. After curing the top layer, a little-known trick is to apply cuticle oil around the edges of your nails. This doesn't just keep your cuticles healthy; it also helps to prevent the gel from lifting at the edges, which is a common cause of peeling. Remember, the goal is to create a barrier that seals in the colour and provides a smooth, long-lasting finish.
The Science Behind the Cure: Understanding Gel Polish Chemistry
The drying process of gel nail polish is not just about time; it's about the chemical reaction that occurs when the polish is exposed to UV light or LED light. This reaction is known as 'curing,' and it's what sets gel polish apart from regular nail polish, which dries through air drying. Curing under a nail lamp involves a process where the photoinitiators in the gel polish absorb the light and convert it into the energy needed to drive the polymerization process, turning the liquid polish into a hard, durable coat.
This scientific approach to drying nails means the environment plays a crucial role. For instance, if you're painting your nails in a room with low temperature or high humidity, the curing process might be affected, leading to a longer drying time or a less durable manicure. It's also why LED lamps, which emit a more targeted spectrum of light, can save time and enhance the curing process compared to UV lamps. By understanding the chemistry behind gel polish, you can better manipulate the conditions to ensure a faster cure and a manicure that stands the test of time.
Aftercare for Gel Nails
Once your black gel polish is completely dry, it's important to take care of your nails to maintain the manicure. Apply cuticle oil regularly to keep your nails and cuticles hydrated. Avoid using your nails as tools to prevent chipping or peeling of the polish.
Saving Time with LED Lamps
LED lamps can save time in the drying process due to their faster curing times. If you want to reduce the time spent under the lamp, investing in an LED nail lamp could be beneficial. These lamps are also more energy-efficient and have longer-lasting bulbs compared to UV lamps.
The Final Cure
After applying the final top coat and curing it, your black gel polish should be completely dry and ready to withstand the rigors of daily life. The final cure ensures that each layer is solidified, providing a durable and long-lasting manicure.
When to Redo Your Gel Manicure
Gel manicures can last up to two weeks or more without chipping or peeling. However, as your nails grow, you may notice a gap at the base of the nail. When this happens, or if you notice any lifting of the polish, it's time to redo your manicure to maintain its appearance and protect your natural nails.
Removing Gel Polish Safely
When it's time to remove your black gel polish, do so safely to avoid damaging your natural nails. Soak a cotton pad in acetone, place it on the nail, and wrap it with foil. After about ten minutes, the gel polish should lift easily. Avoid peeling or scraping the polish off, as this can lead to nail damage.
The Role of Nail Health
The condition of your natural nails can affect the drying time and longevity of your gel polish. Healthy nails are less prone to peeling and allow the gel polish to adhere better. Maintain your nail health by keeping them hydrated and avoiding harsh chemicals.
Troubleshooting Common Issues
If you find that your black gel polish isn't drying properly or is peeling underneath, it could be due to improper application or lamp malfunction. Ensure that you're applying thin, even coats and that your lamp is in good working condition. If problems persist, consult a professional manicurist for advice.
Enhancing the Longevity of Your Manicure
To enhance the longevity of your black gel polish, avoid exposing your nails to harsh chemicals or hot water for extended periods. Wear gloves when cleaning or doing dishes, and reapply a top coat every week to maintain the shine and protect the color.
The Convenience of Gel Polish
Gel polish offers the convenience of a quick-drying, long-lasting manicure that can save time and frustration. With the right techniques and tools, you can enjoy beautiful, durable nails with minimal drying time.
Summary
Black gel polish requires a specific drying process involving the use of UV or LED lamps to cure each layer. By preparing your nails properly, applying thin coats, and using the correct lamp, you can achieve a completely dry and long-lasting manicure in a fraction of the time it takes for regular nail polish to air dry. However, be cautious about potential issues like black gel polish peeling, and remember to take care of your gel nails post-application to maintain their beauty and integrity.
FAQ Section
How long does it take for black gel polish to dry under a UV lamp?
Under a UV lamp, each coat of black gel polish typically takes about two minutes to cure. The total time will depend on the number of coats applied.
Can I air-dry gel nail polish instead of using a lamp?
No, gel nail polish cannot air dry like regular nail polish. It requires curing under a UV or LED lamp to dry completely and properly.
How can I make my gel polish dry faster?
To make gel polish dry faster, use an LED lamp, which can cure each coat in about 30 seconds to a minute. Also, ensure you apply thin coats to facilitate a quicker and more even cure.
