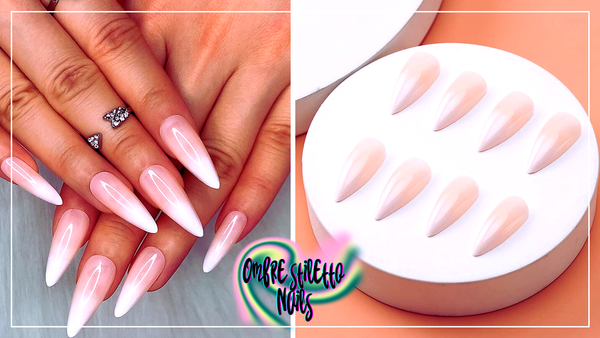
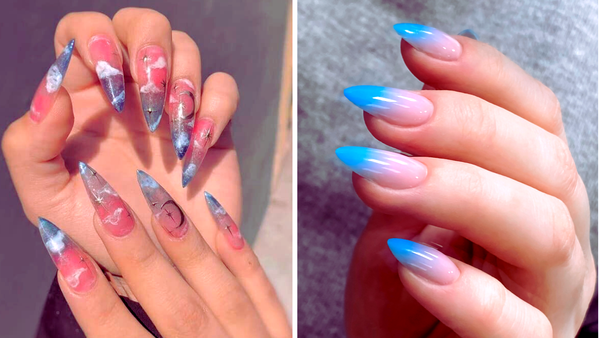
Key Takeaways:
- Essential Tools and Techniques: Understand the tools and techniques required to create ombre nails.
- Step-by-Step Guide: Follow a detailed guide to achieve the perfect ombre stiletto nails.
- Maintenance and Tips: Learn how to maintain your ombre nails and explore additional styling tips.
Ombre nails have taken the beauty world by storm, offering a stunning color combination that fades from one shade to another. Achieving this look on stiletto nails adds an extra touch of glamour and sophistication. Whether you're preparing for a special event or want to elevate your nail game, mastering the art of ombre stiletto nails can set you apart.
Understanding Ombre Stiletto Nails
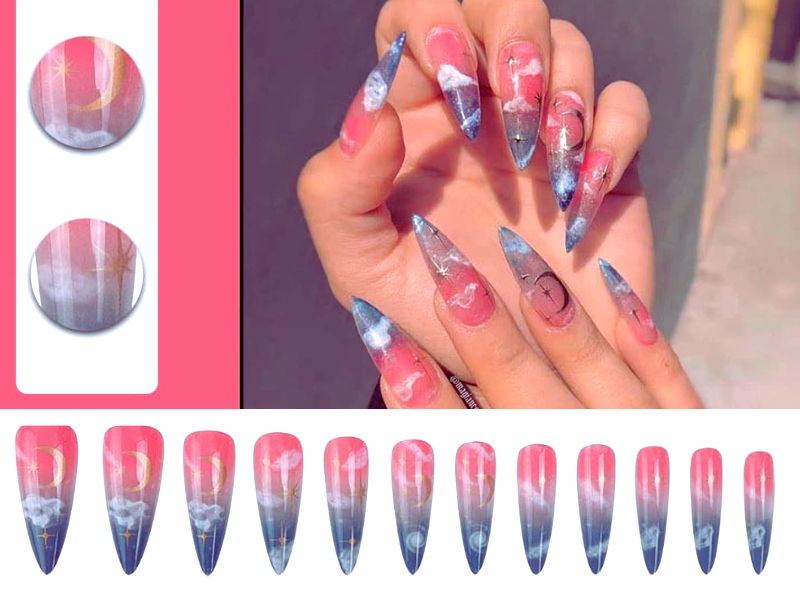
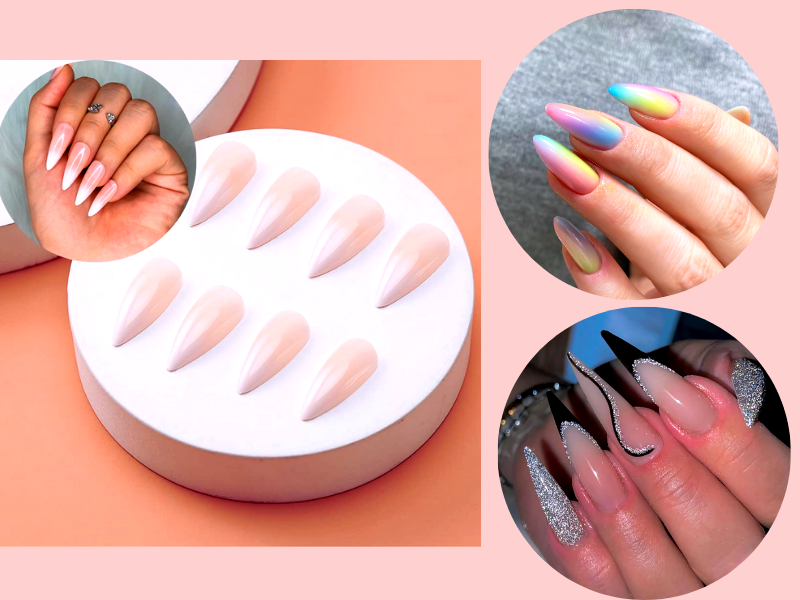
Ombre stiletto nails combine the sharp, pointed look of stiletto nails with the smooth transition of colors known as the ombre effect. This versatile style works well with a range of colors from subtle pastels like light pink to bold shades like navy blue. The key is achieving a flawless gradient that looks seamless.
Tools You'll Need
To start, gather your materials. You'll need at least two polish colors to create the gradient effect, a top coat for a glossy finish, a makeup sponge, and a few other basic manicure tools. Gel polish can give your design a more durable and vibrant look.
Preparing Your Nails
Proper nail preparation is crucial before you dive into painting. Ensure your nails are clean, shaped into a stiletto form, and free from old polish. Applying a base coat can protect your natural nails and help the polish adhere better, providing a perfect canvas for your art.
Choosing Your Colors

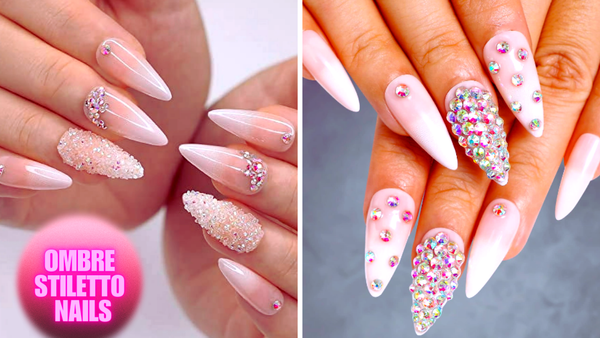
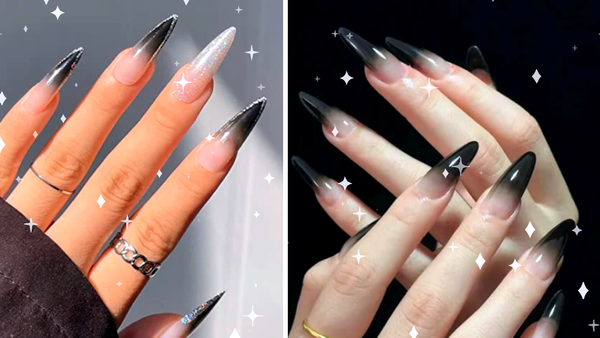
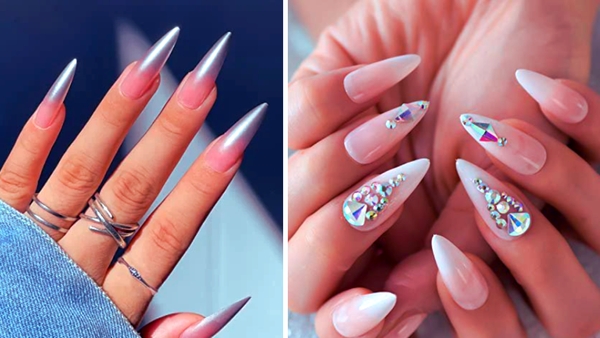
Selecting the right color combination is essential for stunning ombre nails. You might choose a classic ombré with a light-to-dark transition or a fun twist with unexpected colors like orange and grey. For those seeking an edgy aura, incorporating darker shades can create a stylish ombre look that stands out. Additionally, consider the modern twist on the classic French manicure known as baby boomer nails, which features a subtle gradient effect from white to a sheer or natural pink shade, offering a sophisticated and timeless ombre style. Remember, the best ombre nails feature colors that blend well together.
Creating the Ombre Nail Design Gradient Effect
The magic of the ombre lies in the gradient. To achieve this, apply your lighter shade as the base color. Then, dab your darker shade onto the edge of a makeup sponge and lightly press it onto the nail, gradually blending it with the base color. This technique might take a few tries, but patience is key!
Incorporating Glitter for Sparkling Glitter Ombre Nails
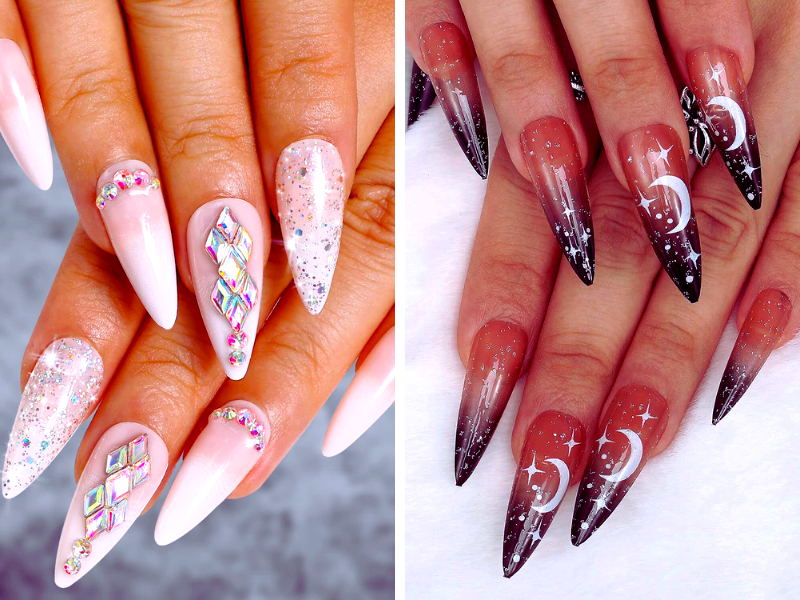
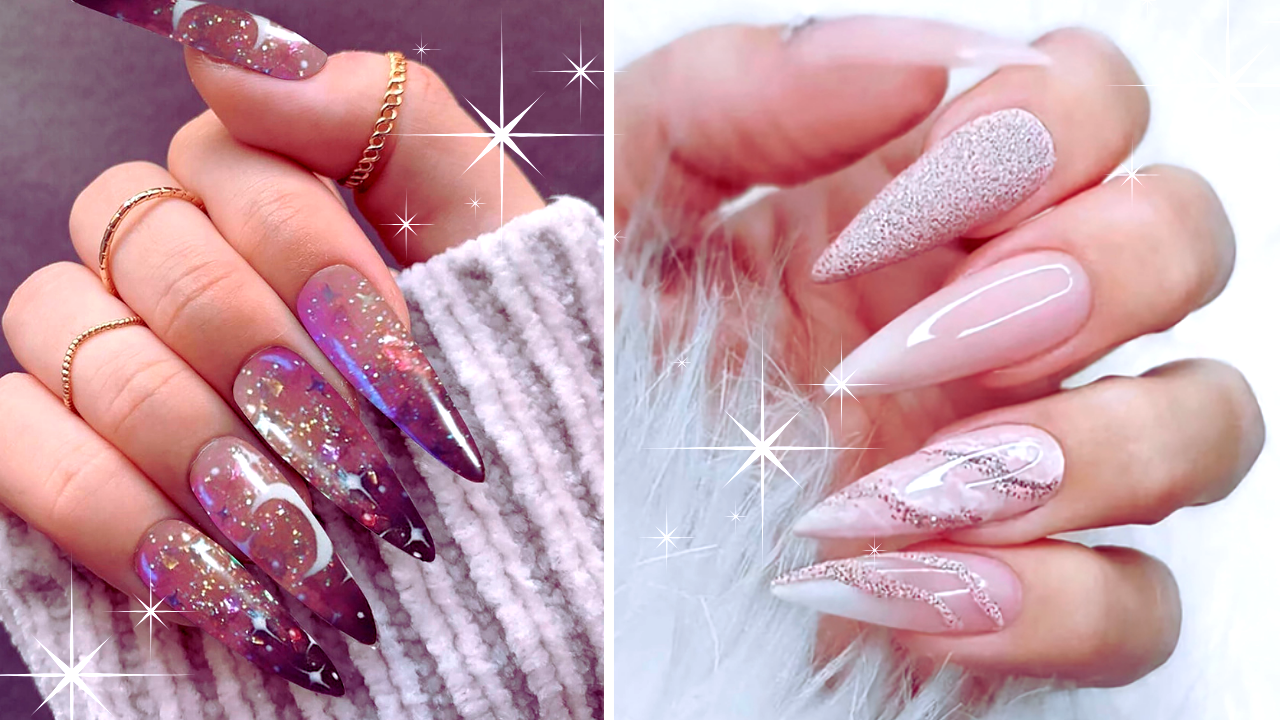
Glitter can elevate your ombre stiletto nails from simply stylish to absolutely stunning, especially when you opt for glitter ombre nails. Begin by selecting a glitter polish that complements the base colors of your ombre design, ideally aiming for a gothic-influenced look with black and grey colors. This style, known for its timeless appeal, ensures that your glitter ombre nails never go out of style. For seamless integration, apply the glitter polish using a makeup sponge to dab lightly over the area where the two colors meet, creating a dazzling transition that embodies the essence of glitter ombre nails.
To further refine the glitter ombre effect, consider the size and type of glitter in your polish. Larger glitter flakes can create a bold, eye-catching look, while finer glitter gives a more subtle shimmer. After applying your base colors and achieving the desired ombre effect with a sponge, gently press the glitter onto the still-wet polish. This method enhances the gradient and adds depth to your nail art, making your nails the highlight of your overall ensemble.
Embracing Seasonal Trends with Ombre Stiletto Nails
When the leaves start to turn, why not let your nails join the party? Seasonal color shifts are a fantastic way to keep your nail game fresh and exciting. Consider incorporating shades of orange, grey, and deep purple into your ombre stiletto nails for autumn. Start with a lighter shade, like a soft grey at the base, and smoothly transition to a vibrant orange tip. This gradient effect captures the essence of fall and gives a modern twist to your look, making your nails a perfect canvas for the season's palette.
Spring and summer call for brighter, bolder colors. Imagine transitioning from a sunny yellow to a deep navy blue, mimicking a summer sunset on your nails. Using a makeup sponge to dab and blend the colors can create a stunning ombre effect that looks straight out of a nail art magazine. This technique ensures a flawless finish, where the colors change and blend beautifully without harsh lines. Such a vibrant color combination on your stiletto nails can be the centerpiece of your summer style, turning heads at every sun-drenched soiree.
The Role of Top Coats in Achieving Long-lasting Ombre Stiletto Nails

A top coat is like the unsung hero of the nail polish world. It seals in your artistic endeavor, providing a glossy finish that elevates the overall look of your ombre stiletto nails. But it’s not just about aesthetics; a good top coat protects your nails from chipping, ensuring your ombre design stays pristine longer. For a fun twist, you might consider a matte finish top coat, which can give your nails a unique, contemporary feel, contrasting beautifully with the usual gloss.
Moreover, the right top coat can enhance the depth and vibrancy of your color combination. It acts as a magnifying glass, highlighting every meticulous detail of the gradient effect. For those who adore the sparkle, adding a glitter top coat over your ombre can turn your nails into a dazzling display of light and color. Whether you opt for a classic glossy finish or experiment with matte or glitter, the top coat is your final step towards locking in that stunning ombre effect, ensuring your nails look freshly done for days.
Experimenting with Ombre Nail Art on Different Nail Shapes
While stiletto nails are a fantastic canvas for ombre designs, exploring other nail shapes can offer a fresh perspective on this popular trend. Almond-shaped nails, for instance, provide a slightly softer look while still giving ample space for a stunning color combination. Start with a lighter shade at the base and gradually blend into a darker shade towards the tips using a sponge for a smooth transition. This shape enhances the elegant flow of the ombre effect, making it ideal for casual and formal occasions.
For those with shorter nails, achieving a flawless ombre effect is still within reach. Ombre nail art is suitable for short nails and enhances their look with a visually appealing gradient effect, making them appear more elegant. Begin with a base coat to protect your natural nails, and apply a light color as the foundation. Using a small, fine-tipped brush, carefully apply a darker shade at the tips and work your way up to create the gradient effect. This method allows for precise control over the color transition, ensuring that even the most compact nails can flaunt a modern twist on the classic ombre design. Whether you prefer a glossy finish or a matte look, adapting the ombre technique to suit various nail shapes opens up endless possibilities for personal expression through nail art.
Sealing the Deal
Let your nails dry completely once you're satisfied with your ombre effect. Applying a top coat not only adds a glossy finish but also seals in your design, preventing chips and extending the life of your manicure. Ensure each layer is dry before adding the next to avoid smudging.
Styling with Accessories
For those looking to add flair, consider nail accessories like glitter or small rhinestones. Applying these to the tips or the transition line can add sparkle and dimension to your ombre stiletto nails.
Summary
Achieving stunning ombre stiletto nails involves understanding the right techniques and practicing the art of blending colors smoothly. You can create a manicure that turns heads and expresses your style with the right tools and patience.
FAQ
How long do ombre stiletto nails typically last?
With proper application and maintenance, gel Ombre stiletto nails can last up to three weeks, while regular polish may need touch-ups more frequently.
Can I achieve ombre nails with natural nails, or do I need extensions?
You can achieve ombre nails on natural nails. However, extensions or tips can provide a more dramatic stiletto shape and more space for the ombre effect.
What are the best color combinations for summer ombre nails?
For summer, try vibrant and bright combinations like turquoise blending into a light blue or a sunny yellow fading into a crisp white for a fresh, summery look.
