Key Takeaways:
- Discover how to transform opaque nail polish into a sheer finish.
- Learn the importance of a tinted basecoat in creating a sheer polish.
- Understand how to extend the shelf life of your DIY sheer polish.
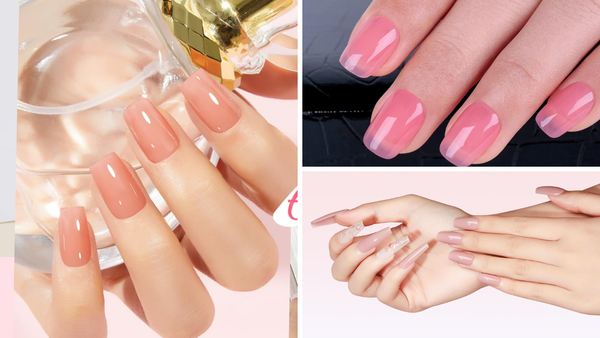
Nail polish trends come and go, but the allure of sheer polish remains timeless. Whether aiming for a subtle hint of color or a barely-there gloss, mastering the art of sheer polish can elevate your manicure game. But can you make nail polish sheer if all you have is an opaque bottle? Absolutely, and this article will guide you through the process.
The Basics of Sheer vs. Opaque Nail Polish
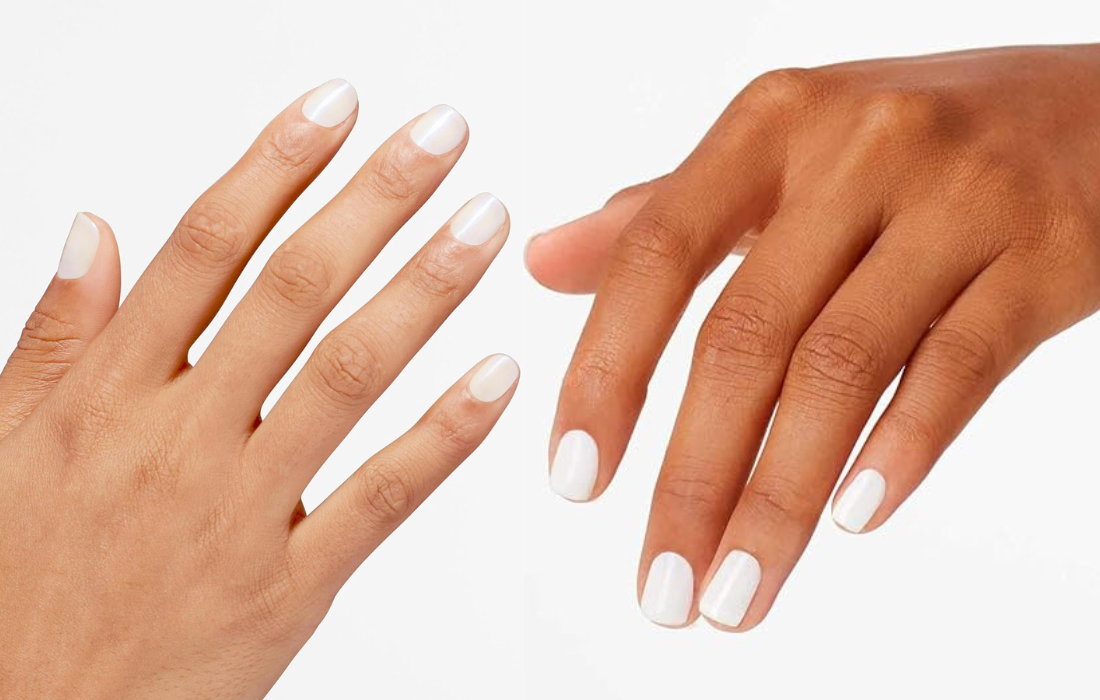
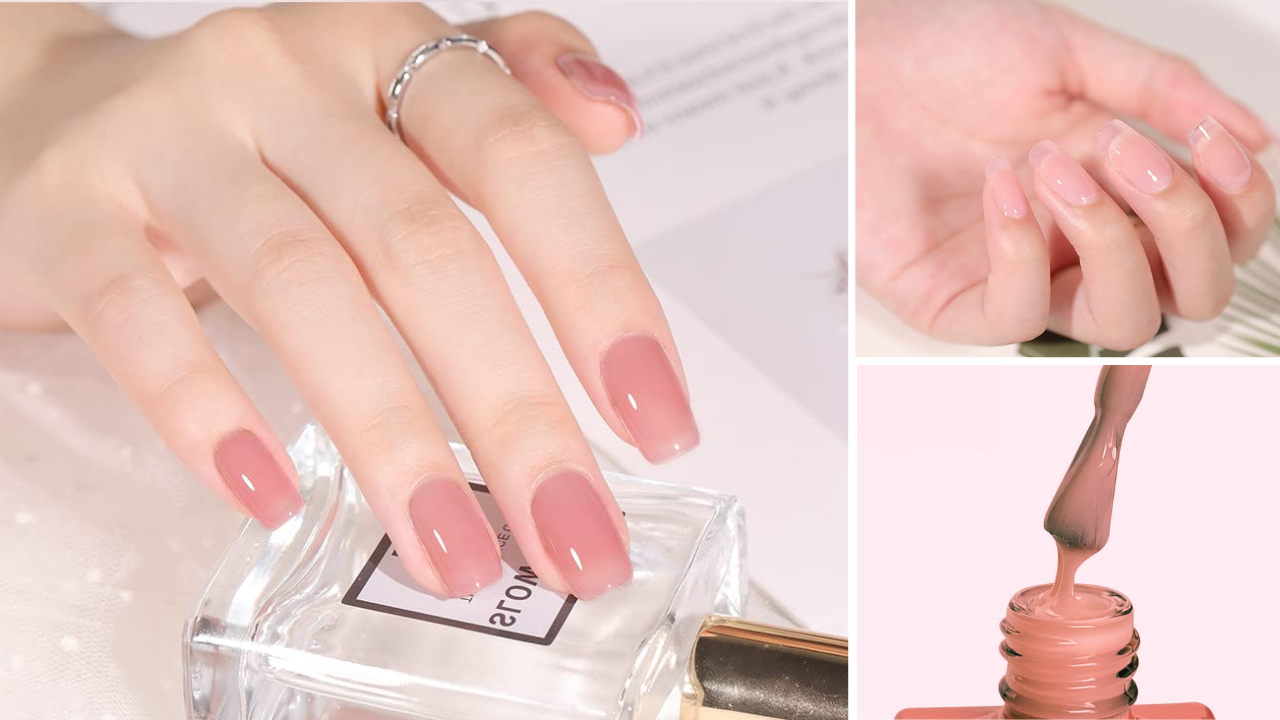
Understanding the difference between sheer and opaque nail polishes is crucial before diving into the DIY realm. Sheer polish, often associated with a natural and minimalist look, allows your natural nail color to peek through. On the other hand, opaque polish offers full coverage, hiding the nail's natural color completely. Brands like Jenna Hipp nail polish have mastered the sheer look, but you can achieve similar results with DIY magic.
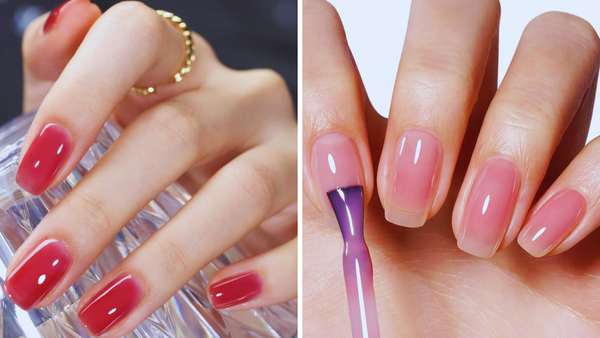
To make a sheer polish from an opaque one, you'll need to dilute the color. This can be done by mixing the opaque polish with a clear polish or a specialized product designed to condense nail polish. The goal is to reduce the pigment concentration, thus reducing the polish's coverage.
The Role of a Tinted Basecoat
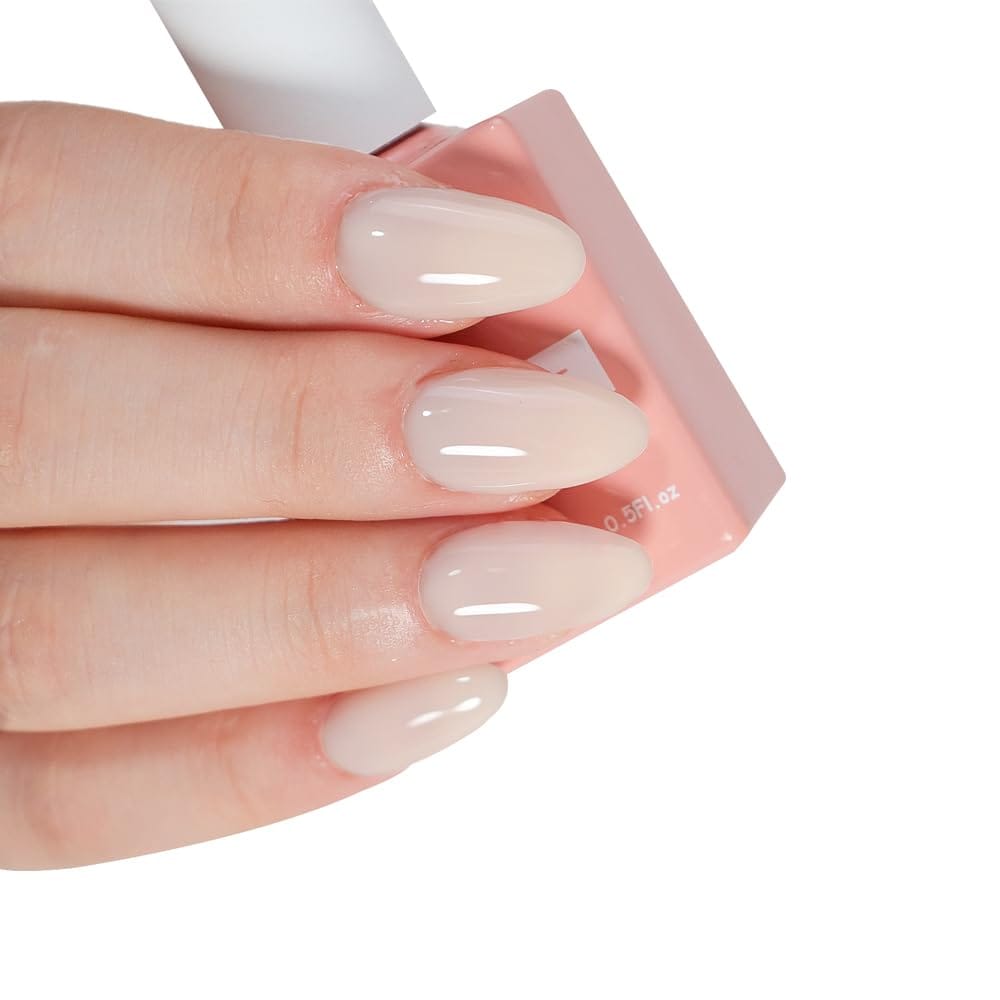
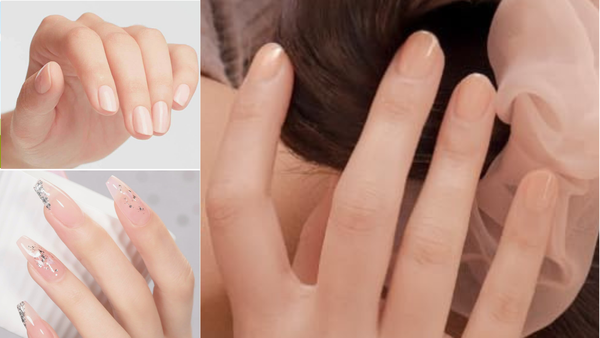
A tinted basecoat can be the secret weapon in your quest for the perfect sheer polish. By applying a basecoat that's already slightly tinted, you create a foundation that enhances the sheer effect. For example, a beige-pink basecoat can add a warm blush to your nails, while a basecoat with a hint of white can brighten and soften the color of the sheer polish applied on top.
When creating your sheer polish, consider the tinted basecoat as the first layer of customization. It sets the stage for the sheered-out shade you'll create, ensuring that the final look aligns with your expectations for nail polish.
Transforming Opaque White Nail Polish
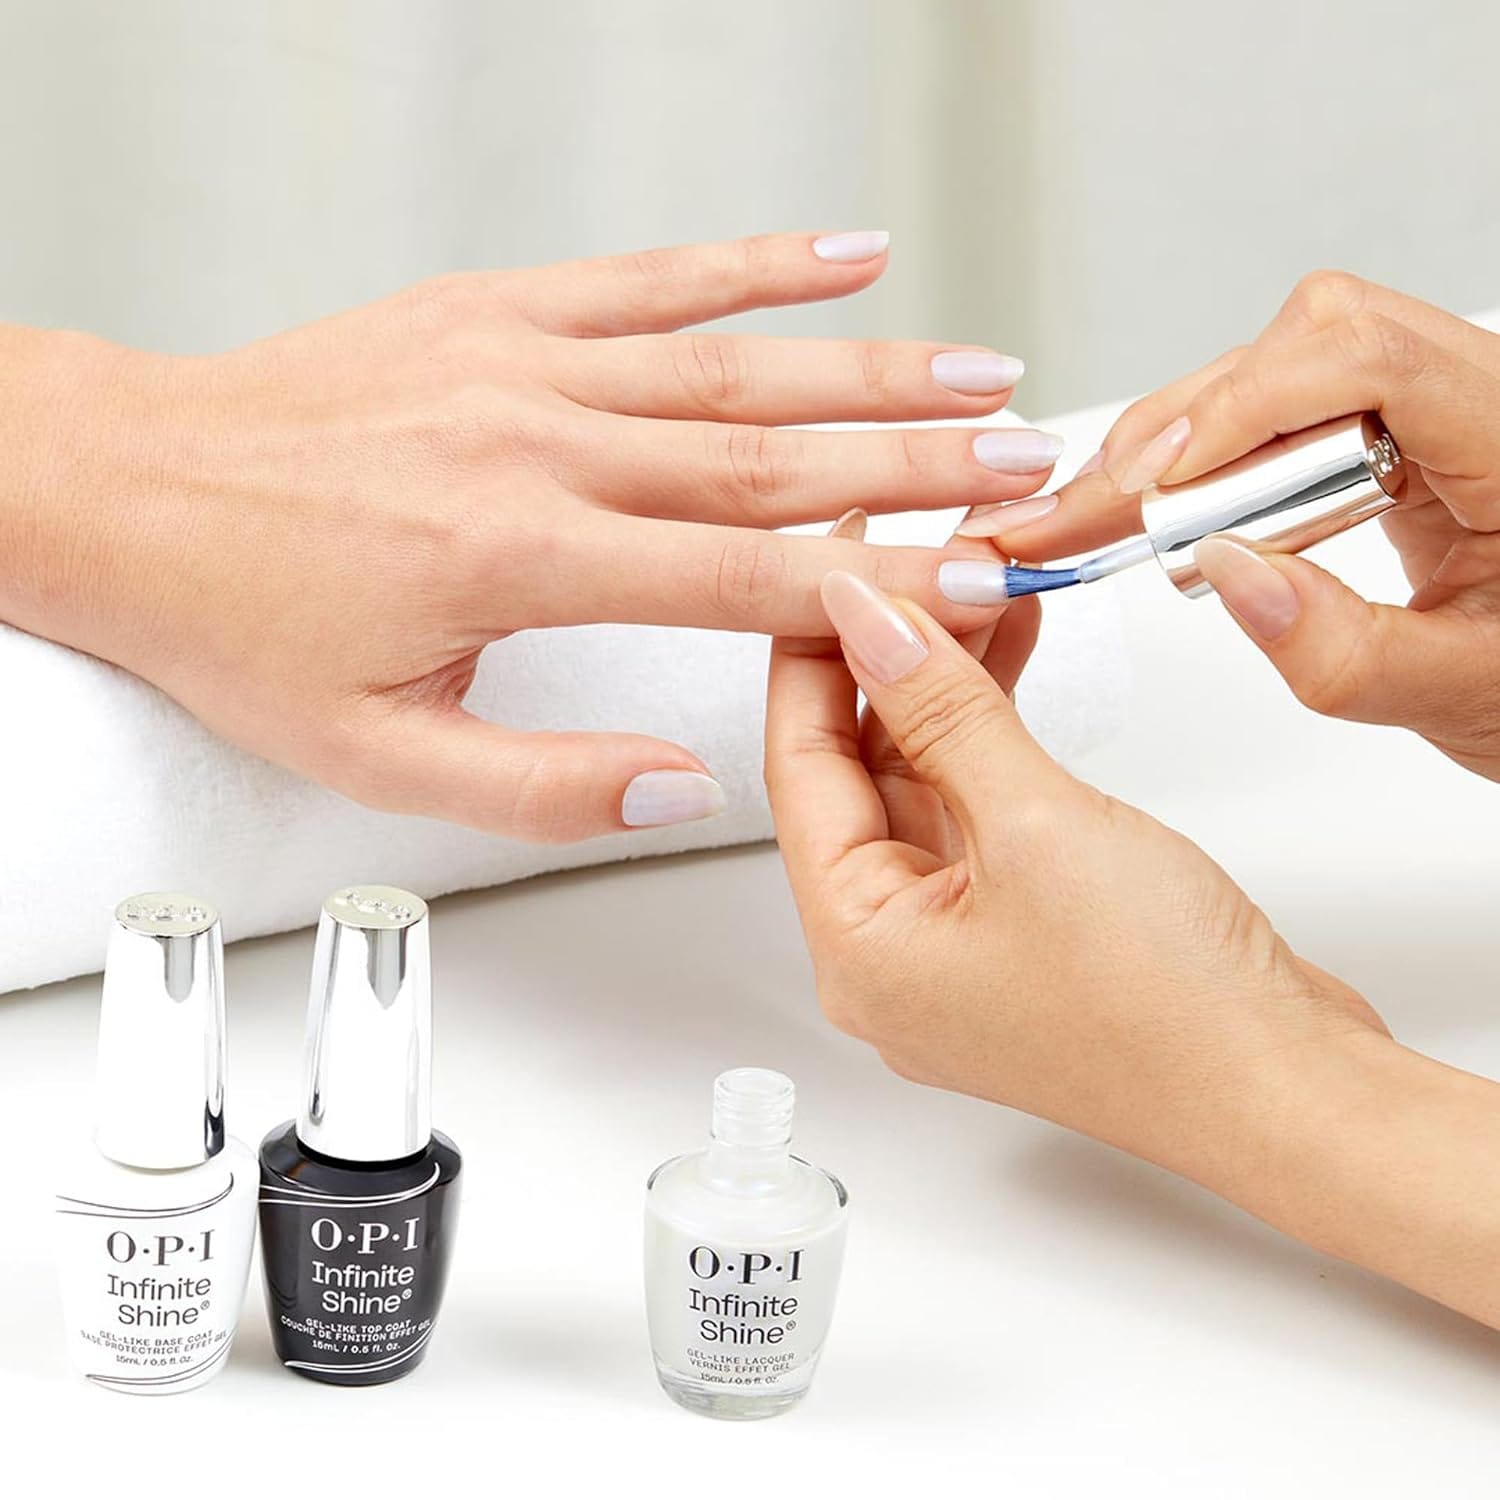
White polish is notoriously opaque, designed to deliver a stark, pure white lacquer look. However, if you aim for a more subdued effect, you can transform this opaque white nail polish into a sheer delight. Start by adding a drop of the white polish to a clear base and mixing thoroughly. Test the mixture on your nails intermittently to gauge the polish's coverage until you achieve the desired sheerness.
Remember, patience is key. Allow each layer to dry completely before adding another to avoid a goopy or uneven finish. This technique can also be applied to other opaque colors, not just white polish.
Crafting a Sheer Metallic Shade
Due to their reflective particles, metallic shades can be tricky to sheer out. However, with the right approach, you can create a metallic sheer polish reminiscent of a Christmas ornament. Mix a small amount of your chosen metallic shade with a clear polish. The goal is to maintain the metallic effect while significantly reducing the color's intensity.
Manicurist Tracylee advises painting such a thing in thin layers, allowing each to dry completely before adding the next. This ensures that the metallic particles distribute evenly, giving you a uniform sheer metallic finish.
The Franken Polish Method
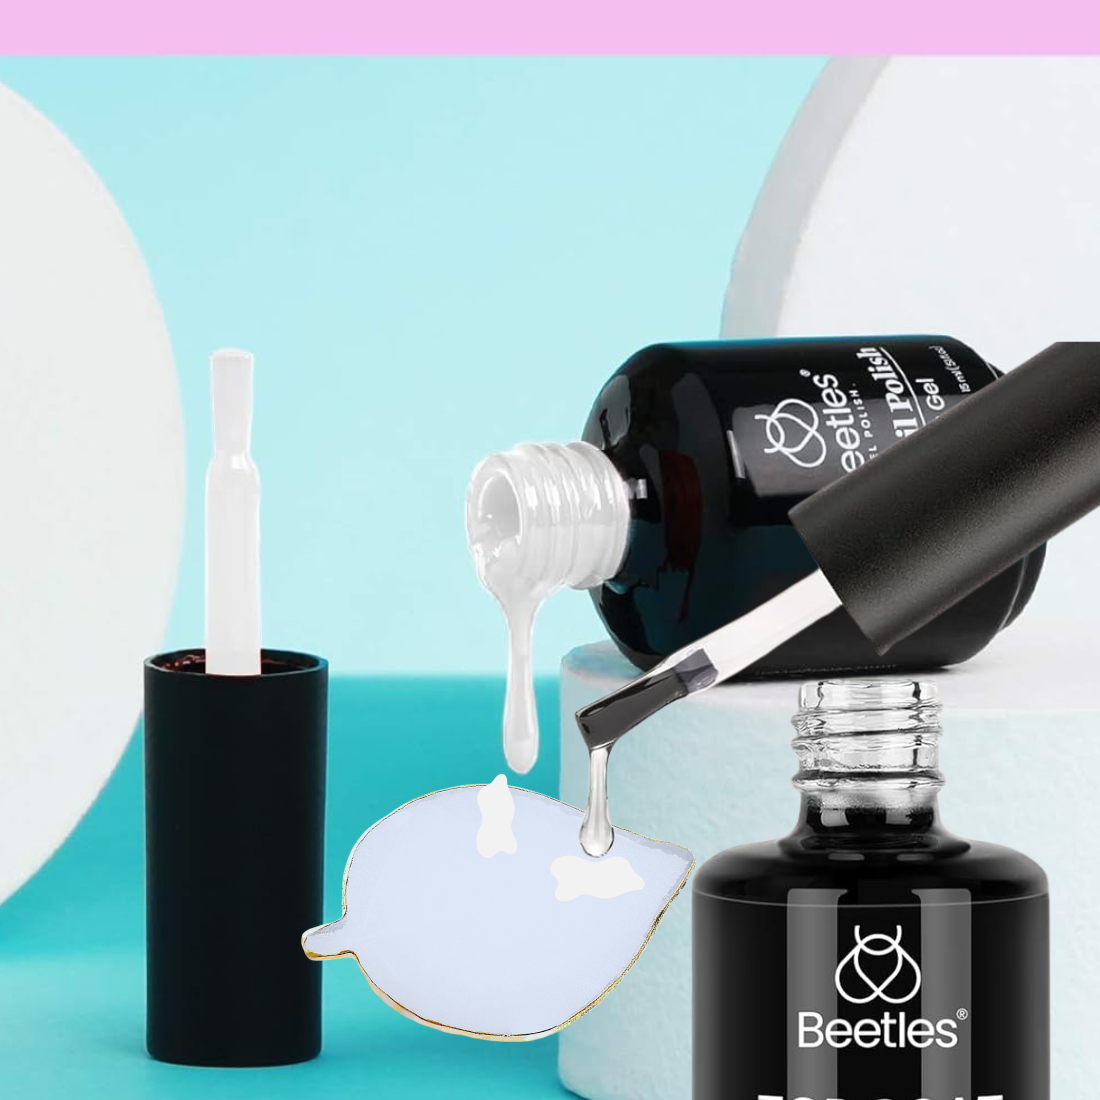
For those who love experimenting, creating a 'franken polish' is an exciting way to achieve a custom sheer shade. This involves mixing different polishes to create a new, unique color. Start with a clear polish as your base and add drops of an opaque polish until you reach the desired sheerness. You can even mix in a bit of a tinted basecoat to adjust the shade slightly.
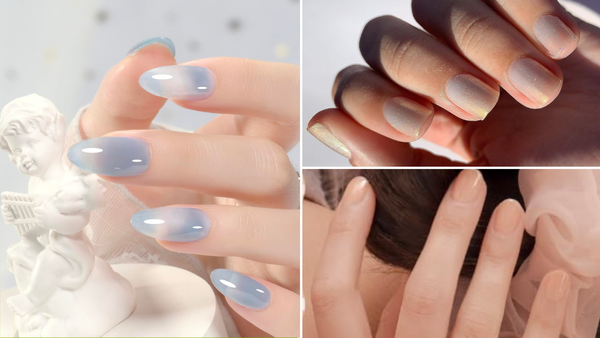
This method allows for endless creativity, whether aiming for a sheer pink, a subtle lavender, or a soft blue. Remember to mix in small increments to avoid overshooting your sheer polish expectations.
Nail Art with Sheer Polish
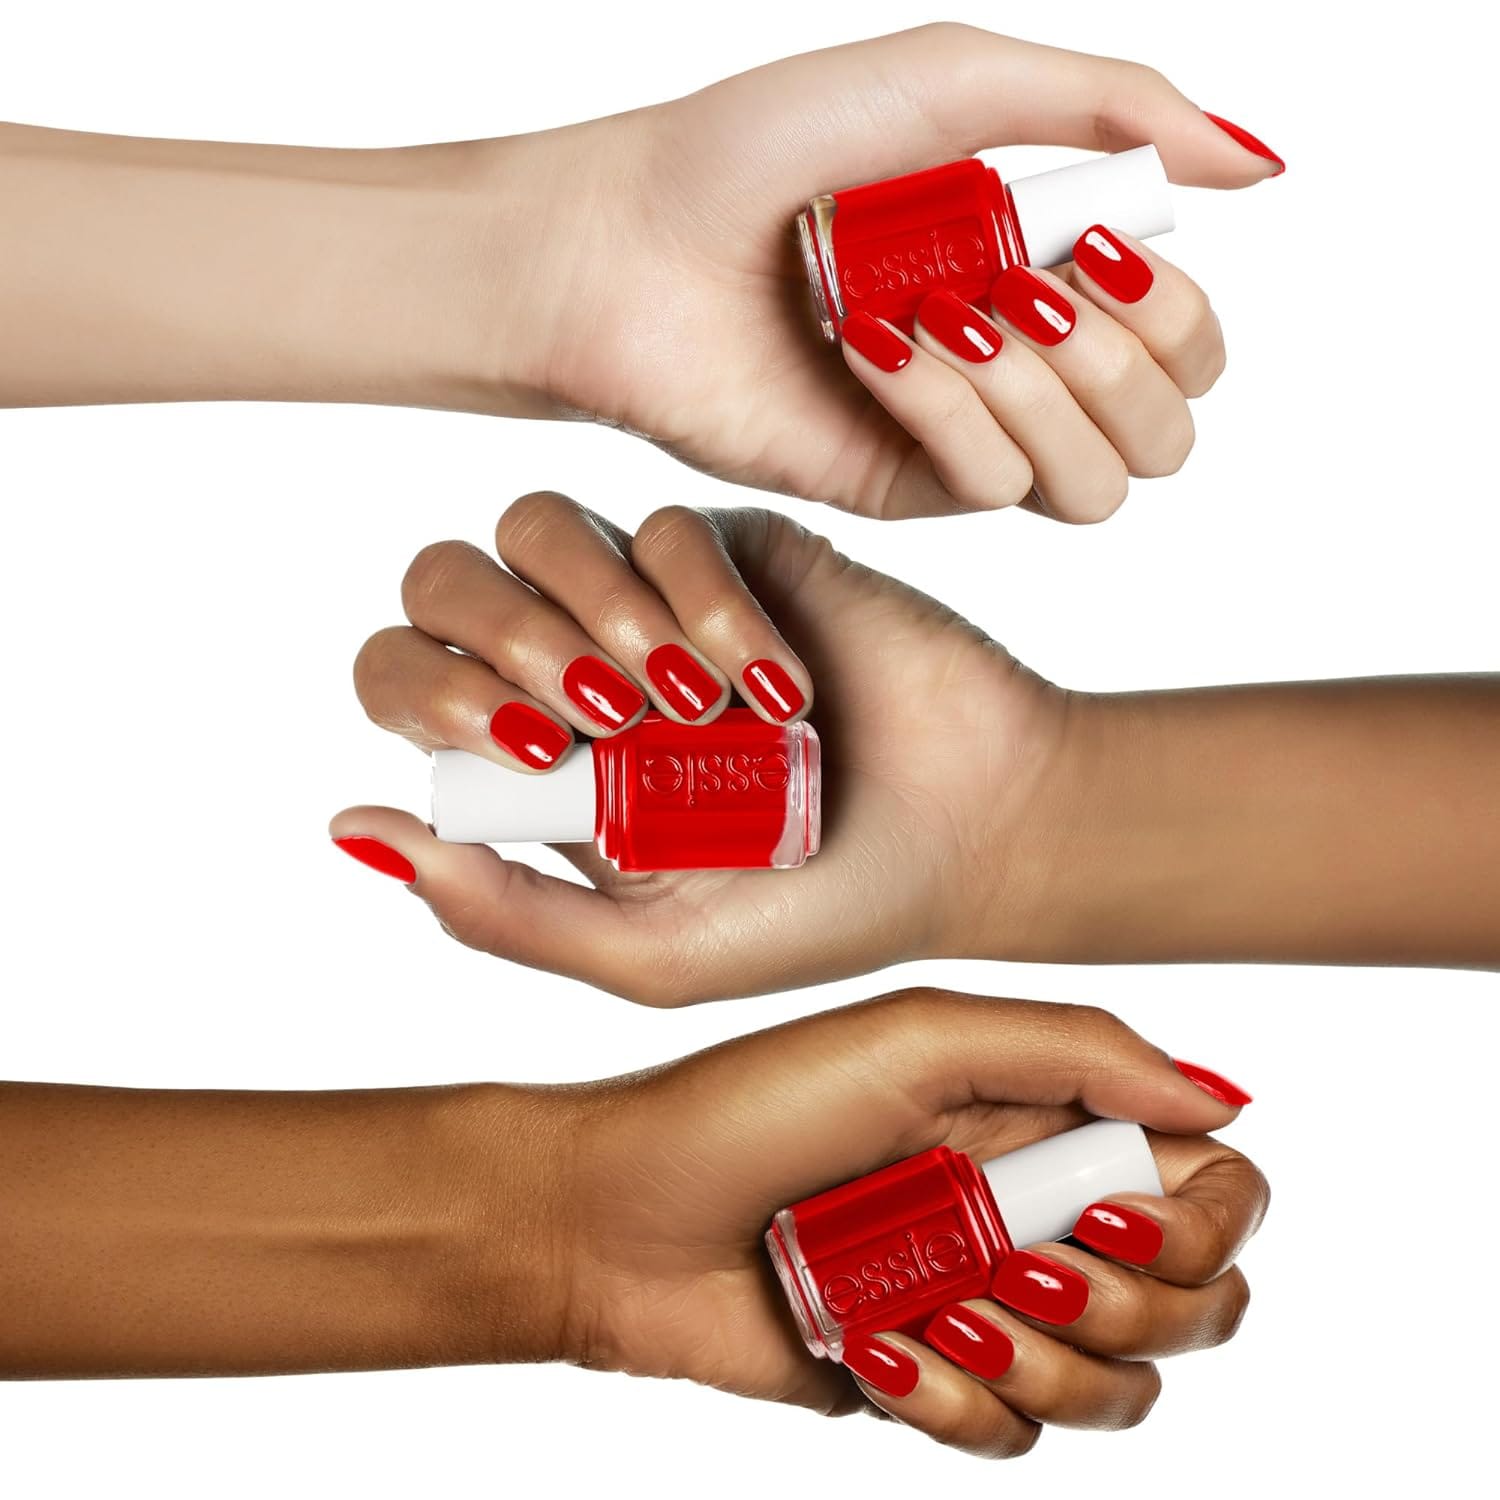
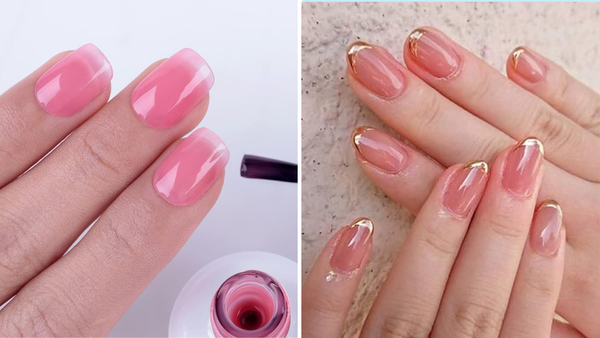
Sheer polish isn't just for a full-nail color. It can also be a fantastic medium for nail art. Essie's Jelly Apple, for example, is a sheer polish that can be used to create a stained-glass effect or layered for a jelly sandwich technique. By using sheer polish in your nail art, you can add depth and dimension to your designs.
For a simple yet elegant look, try using a sheer polish as a top layer over a metallic shade. This can soften the metallic's intensity while adding a glossy sheen that beautifully catches the light.
Extending Your Sheer Polish's Shelf Life
Like any beauty product, DIY nail polish has a shelf life. To ensure your sheer polish lasts as long as possible, store it in a cool, dark place away from direct sunlight. If your polish thickens over time, add a few drops of nail polish thinner to restore its consistency.
Remember, the key to a long-lasting sheer polish is proper maintenance. Keep the bottle tightly sealed when not in use, and clean the neck of the bottle to prevent the cap from sticking.
Summary
Creating a sheer polish from an opaque one is a simple yet rewarding DIY project. Whether you're diluting white polish, crafting a metallic sheer shade, or experimenting with franken polish, the possibilities are endless. Remember to use a tinted basecoat for added depth, and don't forget to store your creations properly to extend their shelf life. With these tips, you can achieve the perfect sheer manicure that meets your expectations for nail polish.
FAQ Section
Can I make any color of nail polish sheer?
Yes, you can make any color of nail polish sheer by mixing it with a clear polish. Adjust the amount of opaque polish to achieve your desired level of sheerness.
How can I prevent my DIY sheer polish from becoming clumpy?
Ensure each layer dries completely before adding another, and use thin layers to avoid a clumpy finish. If your polish thickens over time, use a nail polish thinner to restore consistency.
Is it possible to create a sheer polish that's also long-lasting?
Yes, a sheer polish can be long-lasting if applied correctly. Use a good quality basecoat and topcoat to extend the wear of your sheer polish. Proper storage and maintenance will also help preserve its quality.
