Key Takeaways:
- Yes, you can create stunning marble nails using gel polish.
- The process involves a series of steps, including base coat application, color layering, marbling, and sealing with a top coat.
- Patience and practice are key to mastering the marble nail art technique.
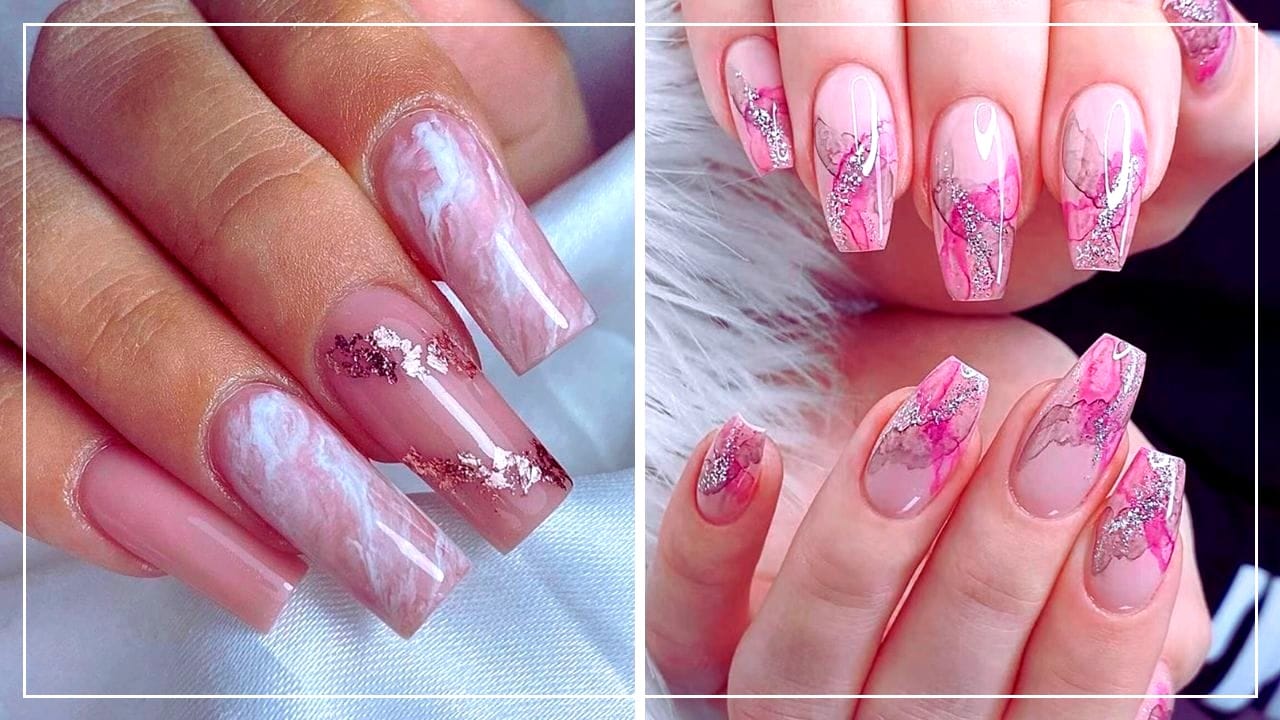
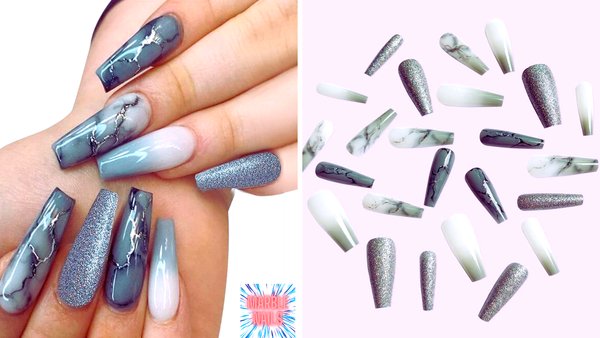
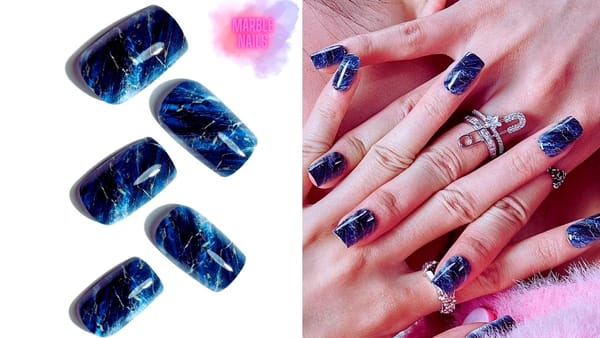
Marble nails have become a staple in nail art, offering a luxurious and intricate look that mimics the natural veining of marble stone. The swirling patterns and interplay of colors not only make a fashion statement but also showcase the wearer's personality. But can you achieve this sophisticated design with gel polish? Absolutely! Let's dive into the mesmerizing world of gel polish marble nails.
Preparing Your Nails
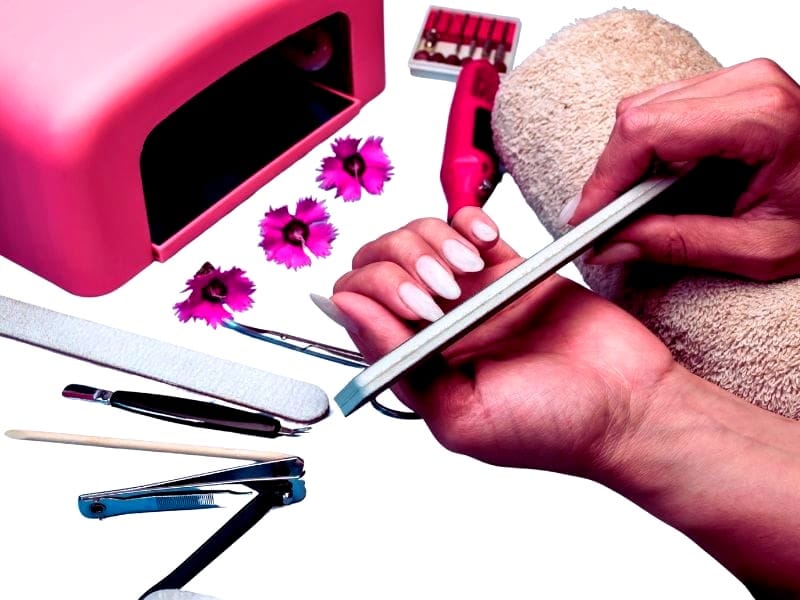
Before you start creating your marble masterpiece, it's essential to prepare your nail plate. Begin by cleaning your nails thoroughly to remove any oils or residue. Next, apply a base coat to protect your nails and ensure better adhesion of the gel polish. Allow the base coat to dry completely before moving on to the next steps.
Choosing Your Colors
The beauty of marble nails lies in the choice of colors. Select a base color that will serve as the background for your marble effect. Whites, grays, and pastels are popular choices but feel free to get creative with blues, greens, or any shades that suit your style. Remember, the next color you choose will be the one to create the marble lines, so make sure it contrasts well with the base color.
Creating the Marble Effect
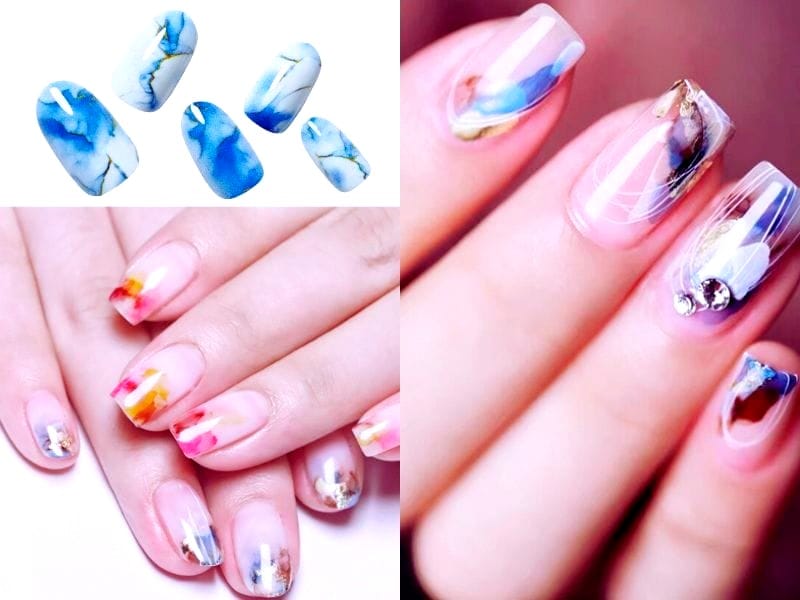
Once your base color is cured, it's time to create the marble effect. Apply a small amount of your chosen marble color onto the nail surface. Then, using a fine paintbrush or a toothpick, gently swirl the polish to create the marble lines. Work quickly as gel polish tends to dry fast. If you're using blooming gel, apply it over the base color and then add drops of your marble color. The blooming gel will allow the color to spread and create a natural marble effect.
Troubleshooting Common Marble Nail Art Issues
When diving into the world of marble nails with gel polish, you might encounter a few roadblocks. But don't worry; with some know-how, you can overcome these challenges and achieve a flawless marble design. For instance, if your marble effect isn't spreading as it should, it might be due to the polish starting to dry completely before you've had the chance to create the desired pattern. To prevent this, work swiftly and apply a generous amount of blooming gel, which keeps the polish wetter for longer, allowing you to manipulate the design.
Another common issue is when colors blend too much, losing the distinct marble lines that give this nail art its character. To fix this, be careful not to overwork the design. Use a toothpick or a fine nail art brush to gently swirl the colors without mixing them thoroughly. Remember, marble nail art is about creating the illusion of natural marble, so imperfections can contribute to the authenticity of your design. Keep a light touch, and don't be afraid to repeat steps if necessary to achieve the perfect marble effect.
Advanced Techniques for Marble Nails
Once you've mastered the basic marble nail art technique, it's time to elevate your skills. For a more intricate marble design, try incorporating multiple shades of the same color or complementary colors. Begin by applying your base color and then add drops of your next color in a random pattern. Before these drops dry, add a small amount of a third shade, then use the floating technique to gently spread and swirl the colors together. This layering of shades can create depth and a more realistic marble effect.
For those looking to add an extra dimension to their marble nails, experimenting with different tools can yield exciting results. Instead of a toothpick, use a fine paintbrush or even the pointed end of a dotting tool to drag and swirl the polish. You can also tap into the negative space trend in nail art by leaving parts of the nail plate uncovered before applying the marble design. This technique requires patience and a steady hand, but the results are stunning and offer a modern twist on traditional marble nails. Remember to seal your masterpiece with a gel polish top coat to protect your art and add a glossy finish.
The Floating Technique
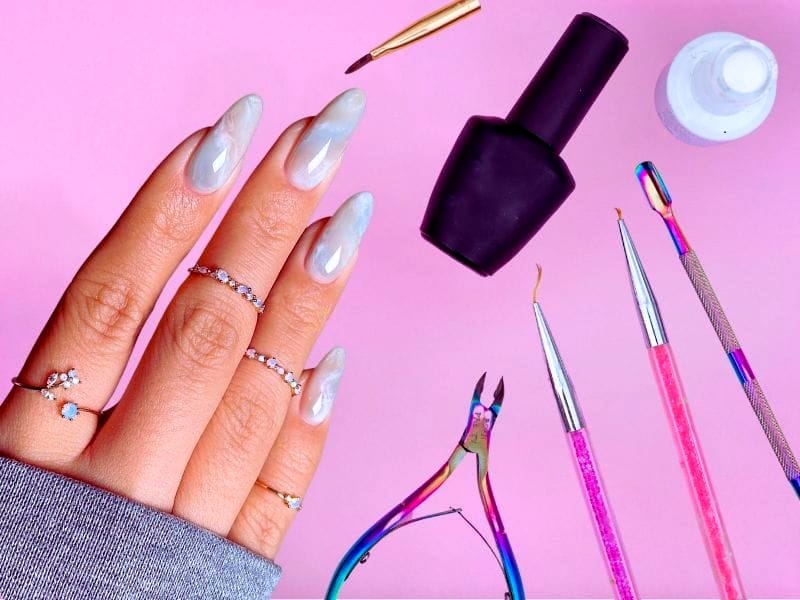
For a more advanced technique, try the floating polish method. Instead of applying the polish directly to the nail, drop your marble color onto a clean surface or a palette. Then, using a brush, pick up a small amount of polish and lightly tap it onto the nail. This technique allows for more control and a finer marble design.
Sealing Your Design
After you're satisfied with your marble design, it's crucial to seal it with a top coat. The top coat not only protects your nail art but also gives it a glossy, professional finish. Cover the entire nail, including the edges, to prevent chipping. Cure the top coat under a UV or LED lamp until completely dry.
Aftercare and Maintenance
Marble nails with gel polish are durable and can last up to two weeks with proper care. To maintain your marble nails, avoid using your nails as tools and wear gloves when doing household chores. If you notice any lifting or chipping, visit your salon for a touch-up or to have the gel polish removed safely.
Summary
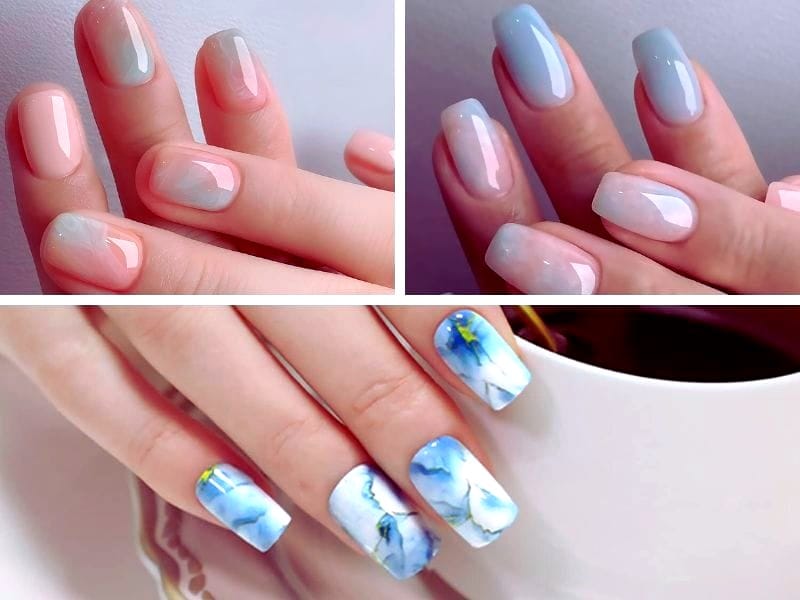
Marble nails with gel polish are a beautiful and achievable nail art option for those looking to add sophistication to their manicure. By following the steps of preparation, color selection, marble effect creation, and sealing, you can create a stunning marble design that lasts. Remember, practice makes perfect, and with patience, you'll be able to master this technique.
FAQ Section
How long do marble nails with gel polish last?
With proper application and aftercare, marble nails with gel polish can last up to two weeks.
Can I do marble nails with gel polish at home?
Yes, you can create marble nails with gel polish at home. However, it requires specific supplies like gel polish, a UV or LED lamp, and a steady hand. Watching video tutorials can also help you learn the technique.
Do I need special tools to create marble nails with gel polish?
Basic tools required include a fine paint brush or a toothpick for marbling, a UV or LED lamp for curing, and a good quality top coat to seal the design. Optional tools like blooming gel can enhance the marble effect.
