Key Takeaways:
- Installing a countertop water filter is a straightforward process that can be done without professional help.
- Understanding the components and steps involved ensures a smooth installation.
- Regular maintenance and filter changes are crucial for optimal performance.
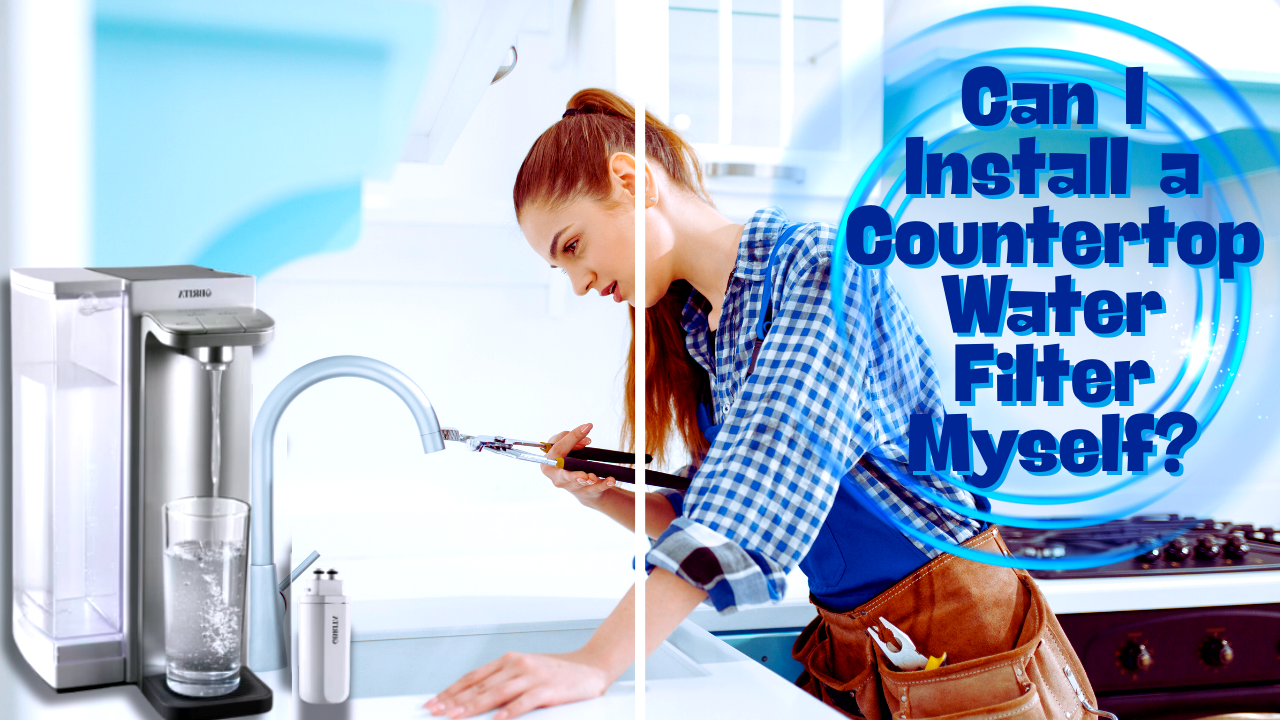
Have you ever wondered, "Can I install a countertop water filter myself?" The answer is a resounding yes! With some guidance and the right tools, you can easily set up a countertop water filter in your kitchen. This article will walk you through the entire process, from understanding the components to installation and maintenance. So, let's dive in and get your water filtration system up and running!
Understanding Countertop Water Filters
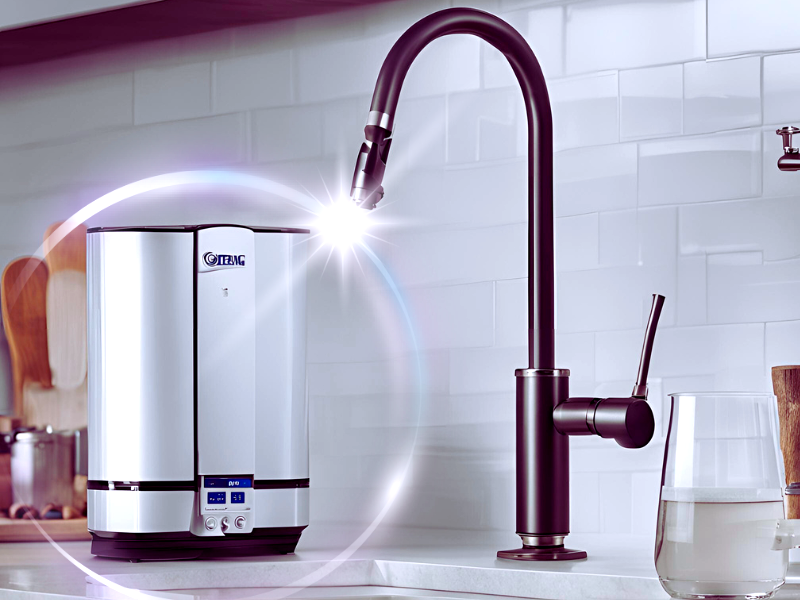
Countertop water filters are a popular choice for many households due to their ease of installation and effectiveness in filtering drinking water. These units sit on your kitchen counter and connect directly to your faucet, providing clean, filtered water on demand. Unlike under-sink water filters, countertop models do not require drilling or permanent plumbing modifications.
One of the main advantages of countertop water filters is their ability to remove contaminants such as chlorine, volatile organic compounds, and other impurities from tap water. This ensures you and your family access safe and great-tasting drinking water. Additionally, these filters are often more affordable and easier to maintain than whole-house filters or reverse osmosis systems.
Components of a Countertop Water Filter
Before you start the installation process, it's essential to familiarize yourself with the components of a countertop water filter. Most units come with a filter housing, a carbon filter or other filtration media, a diverter valve, and a hose that connects to your faucet. Some models may include additional accessories, such as adapters or washers, to ensure a secure fit.
The filter housing is the unit's main body, where the filtration media is housed. The carbon filter removes contaminants from the water, while the diverter valve allows you to switch between filtered and unfiltered water. The hose connects the filter housing to your faucet, ensuring a steady water flow through the filtration system.
Preparing for Installation

Before you begin the installation process, gathering all the necessary tools and materials is crucial. Most countertop water filters come with everything you need for installation, but it's always a good idea to double-check the contents of the package. You may also need a pair of pliers or an adjustable wrench to tighten connections.
Next, clean the area around your kitchen sink and faucet to ensure a smooth installation. This will help prevent debris or contaminants from entering the filtration system during the setup process. Additionally, ensure enough space on your countertop to accommodate the filter unit.
Installing the Diverter Valve
The first step in the installation process is to attach the diverter valve to your kitchen faucet. Start by unscrewing the aerator from the end of your faucet. If your faucet has a built-in aerator, you may need an adapter to connect the diverter valve. Most countertop water filters come with various adapters to fit different faucet types.
Once the aerator is removed, screw the diverter valve onto the faucet. Use pliers or an adjustable wrench to ensure a tight fit, but be careful not to overtighten and damage the threads. The diverter valve should have a lever or button that allows you to switch between filtered and unfiltered water.
Connecting the Hose
With the diverter valve securely attached to your faucet, it's time to connect the hose to the filter housing. Start by attaching one end of the hose to the diverter valve. Make sure the connection is tight to prevent any leaks. Next, connect the other end of the hose to the inlet port on the filter housing.
Once the hose is connected, place the filter housing on your countertop in a convenient location. Ensure that the unit is stable and won't tip over during use. Some models come with mounting brackets or suction cups to help secure the filter housing in place.
Flushing the Filter
Before you start using your new countertop water filter, it's essential to flush the filter to remove any carbon dust or debris that may be present. To do this, turn on the cold water line and switch the diverter valve to the filtered water position. Allow the water to run through the filter for a few minutes until it clears.
Flushing the filter not only removes any impurities but also helps to activate the filtration media, ensuring optimal performance. Once the water runs clear, your countertop water filter is ready for use. Enjoy the benefits of clean, filtered water for drinking, cooking, and more!
Regular Maintenance and Filter Changes
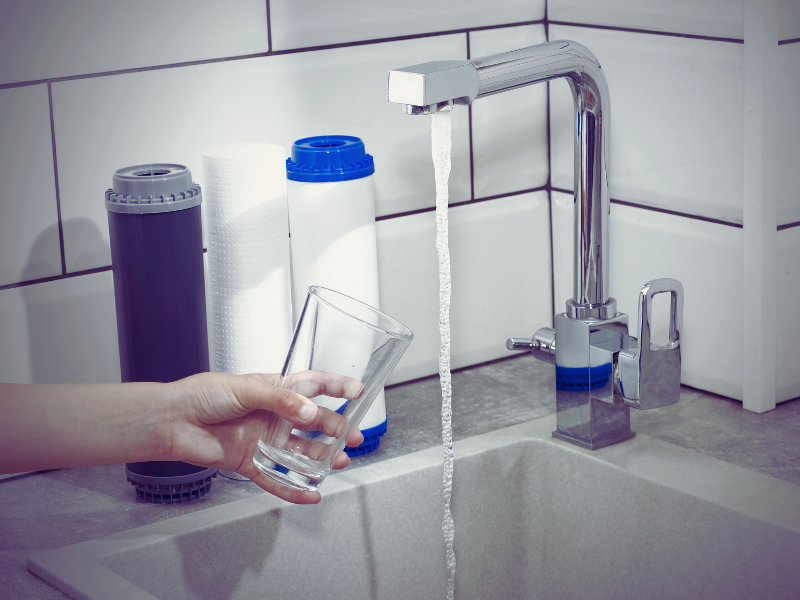
Regular maintenance and filter changes are crucial to keeping your countertop water filter functioning at its best. Most manufacturers recommend replacing the carbon filter every six months, but this can vary depending on your water quality and usage. Be sure to follow the manufacturer's guidelines for filter replacement.
In addition to changing the filter, it's essential to clean the filter housing and other components periodically. This helps to prevent the buildup of contaminants and ensures that your filtration system continues to provide clean, safe drinking water. Regular maintenance will also extend the lifespan of your countertop water filter.
Troubleshooting Common Issues
While installing a countertop water filter is generally straightforward, you may encounter some common issues. One common problem is leaks at the connection points. If you notice any leaks, check the connections and tighten them if necessary. You may also need to replace washers or use a plumber's tape to ensure a secure fit.
Another issue you may encounter is reduced water flow, which can be caused by a clogged filter or a kinked hose. If you experience reduced water flow, check the filter and hose for obstructions and replace the filter if necessary. Regular maintenance and filter changes can help prevent these issues and keep your filtration system running smoothly.
Benefits of Using a Countertop Water Filter

Using a countertop water filter offers numerous benefits for you and your family. One of the main advantages is the improved taste and quality of your drinking water. By removing contaminants such as chlorine, volatile organic compounds, and other impurities, a countertop water filter ensures that your water is safe and great tasting.
A countertop water filter can improve the taste and quality of your water and save you money. By filtering your tap water, you can reduce your reliance on bottled water, which can be expensive and harmful to the environment. A countertop water filter is a cost-effective and eco-friendly solution for clean, safe drinking water.
Comparing Countertop Water Filters to Other Filtration Systems
When it comes to choosing a water filtration system, several options are available, including under-sink water filters, whole-house filters, and reverse osmosis systems. Each type of filtration system has advantages and disadvantages, so it's essential to consider your specific needs and preferences.
Countertop water filters are an excellent choice for those who want an easy-to-install and maintain solution for filtering drinking water. Unlike under-sink water filters, countertop models do not require drilling or permanent modifications to plumbing. They are also more affordable and easier to maintain than whole-house filters or reverse osmosis systems.
Choosing the Right Countertop Water Filter

With so many countertop water filters on the market, choosing the right one for your needs can be challenging. When selecting a filter, consider factors such as the type of filtration media, the filter's capacity, and the specific contaminants it removes. Look for NSF-certified filters, ensuring that the filter meets strict standards for performance and safety.
Another important consideration is the filter's ease of use and maintenance. Choose a filter that is easy to install and requires minimal maintenance. Some models come with features such as filter change indicators, which can help you track when to replace the filter.
Installing a Countertop Water Filter: A Step-by-Step Guide
- Gather all necessary tools and materials.
- Clean the area around your kitchen sink and faucet.
- Remove the aerator from your faucet and attach the diverter valve.
- Connect the hose to the diverter valve and filter housing.
- Place the filter housing on your countertop in a convenient location.
- Flush the filter to remove any carbon dust or debris.
- Enjoy clean, filtered water!
Following these simple steps, you can easily install a countertop water filter and enjoy the benefits of clean, safe drinking water.
Summary
Installing a countertop water filter is a simple and cost-effective way to ensure you and your family access clean, safe drinking water. With some guidance and the right tools, you can easily set up a countertop water filter in your kitchen. Regular maintenance and filter changes are crucial for optimal performance, so follow the manufacturer's guidelines. Enjoy the benefits of clean, great-tasting water with a countertop water filter! Stay connected with us by subscribing to our newsletter today!
FAQ
How often should I replace the filter in my countertop water filter?
Most manufacturers recommend replacing the carbon filter every six months, but this can vary depending on your water quality and usage. Be sure to follow the manufacturer's guidelines for filter replacement.
Can I install a countertop water filter on any faucet?
Countertop water filters are designed to fit most standard faucets. However, if your faucet has a built-in aerator or an unusual design, you may need to use an adapter to connect the diverter valve. Most countertop water filters come with various adapters to fit different faucet types.
What should I do if my countertop water filter is leaking?
If you notice any leaks, check the connections and tighten them if necessary. You may also need to replace washers or use a plumber's tape to ensure a secure fit. If the problem persists, consult the manufacturer's troubleshooting guide or contact customer support for assistance.
